python讀取圖片顏色值并生成excel像素畫(huà)的方法實(shí)例
像素畫(huà):

需要用到的包:
進(jìn)度條:progressbar
pip install progressbar -i http://mirrors.aliyun.com/pypi/simple/ --trusted-host mirrors.aliyun.com
excel:操作包openpyxl
pip install openpyxl -i http://mirrors.aliyun.com/pypi/simple/ --trusted-host mirrors.aliyun.com
食用指南:
文件目錄:
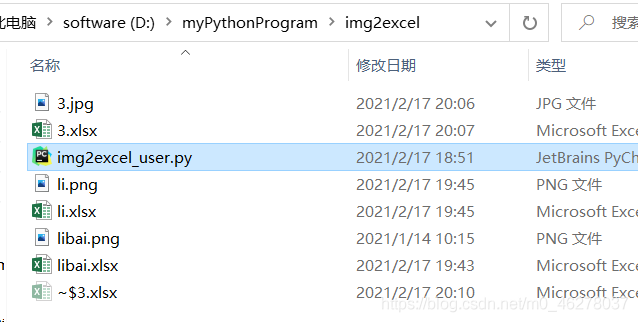
運(yùn)行:
進(jìn)入程序img2excel_user.py 所在目錄,輸入:
python img2excel_user.py 圖片地址 excel保存地址(要加上excel名字)
例如:
python img2excel_user.py D:myPythonProgramimg2excel3.jpg D:myPythonProgramimg2excel3.xlsx
注意:
進(jìn)入二級(jí)目錄的方法:cd .文件夾名

若圖片太大,生成的文件會(huì)打不開(kāi),所以準(zhǔn)備的圖片不能太大:

源碼:
# -*- coding: utf-8 -*-from PIL import Imageimport openpyxlimport openpyxl.stylesfrom openpyxl.styles import PatternFillfrom openpyxl.utils import get_column_letterfrom progressbar import *def RGB_to_Hex(rgb): ''' RGB顏色轉(zhuǎn)換成16進(jìn)制顏色 :param rgb: :return: ''' RGB = rgb.split(’,’) # 將RGB格式劃分開(kāi)來(lái) color = ’’ for i in RGB: num = int(i) # 將R、G、B分別轉(zhuǎn)化為16進(jìn)制拼接轉(zhuǎn)換并大寫(xiě) hex() 函數(shù)用于將10進(jìn)制整數(shù)轉(zhuǎn)換成16進(jìn)制,以字符串形式表示 color += str(hex(num))[-2:].replace(’x’, ’0’).upper() return colordef img2excel(img_path,excelout_path): ''' 圖片轉(zhuǎn)換成excel :param img_path: 圖片地址 :param excelout_path: excel保存地址 :return: ''' img_src = Image.open(img_path) #寬高 img_width=img_src.size[0] img_height=img_src.size[1] print('圖片寬%s,高%s'%(img_width,img_height)) # 類型 # print(img_src.mode) if img_src.mode != 'RGB': img_src = img_src.convert(’RGB’) str_strlist = img_src.load() wb=openpyxl.Workbook() wb.save(excelout_path) wb=openpyxl.load_workbook(excelout_path) sheet=wb['Sheet'] sheet.title='img2excel' cell_width = 1.0 cell_height = cell_width * (2.2862 / 0.3612) print('正在瘋狂生成excel,請(qǐng)耐心等待...') #進(jìn)度條 widgets=[’進(jìn)度:’,Percentage(),’’,Bar(’#’),’’,Timer(),’ ’, ETA(), ’ ’] pb=ProgressBar(widgets=widgets) for w in pb(range(img_width)): for h in range(img_height): data = str_strlist[w,h] # 把元組rgb顏色變成字符串,轉(zhuǎn)換成16進(jìn)制顏色(1,2,3)-->’1,2,3’ color=str(data).replace('(','').replace(')','') #16進(jìn)制的顏色,不帶前面#號(hào)的,要#自己拼接到color前面即可 color=RGB_to_Hex(color) # 設(shè)置填充顏色為color,solid參數(shù)表示填充實(shí)色 fille=PatternFill('solid',fgColor=color) sheet.cell(h+1,w+1).fill=fille print('生成完成,正在設(shè)置單元格格式...') for i in range(1, sheet.max_row+1): sheet.row_dimensions[i].height=cell_height for i in range(1, sheet.max_column+1): sheet.column_dimensions[get_column_letter(i)].width = cell_width print(’格式設(shè)置完成,正在保存excel...’) wb.save(excelout_path) img_src.close() print('保存excel成功!請(qǐng)打開(kāi)[%s]查看'%excelout_path)if __name__==’__main__’: import sys,os if len(sys.argv)!=3: print('請(qǐng)輸入圖片地址和excel保存的地址n' '例如命令行輸入 python img2excel_user.py D:/result.png D:/outExcel.xlsx') sys.exit(0) else: img_virify=[’.jpg’,’.png’,’.gif’,’.bmp’,’.jpeg’,’.jpe’,’.jfif’] excel_virify=[’.xlsx’,’.xlsm’,’.xltx’,’.xltm’] # 圖片地址 img_path=sys.argv[1] # excel保存地址 excelout_path=sys.argv[2] endName=os.path.splitext(img_path) if endName[1] not in img_virify: print('請(qǐng)選擇支持的圖片類型',img_virify) sys.exit(0) endName_excel=os.path.splitext(excelout_path) if endName_excel[1] not in excel_virify: print('excel 格式不支持,請(qǐng)選擇支持的格式',excel_virify) sys.exit(0) img2excel(r''+img_path+'',excelout_path)
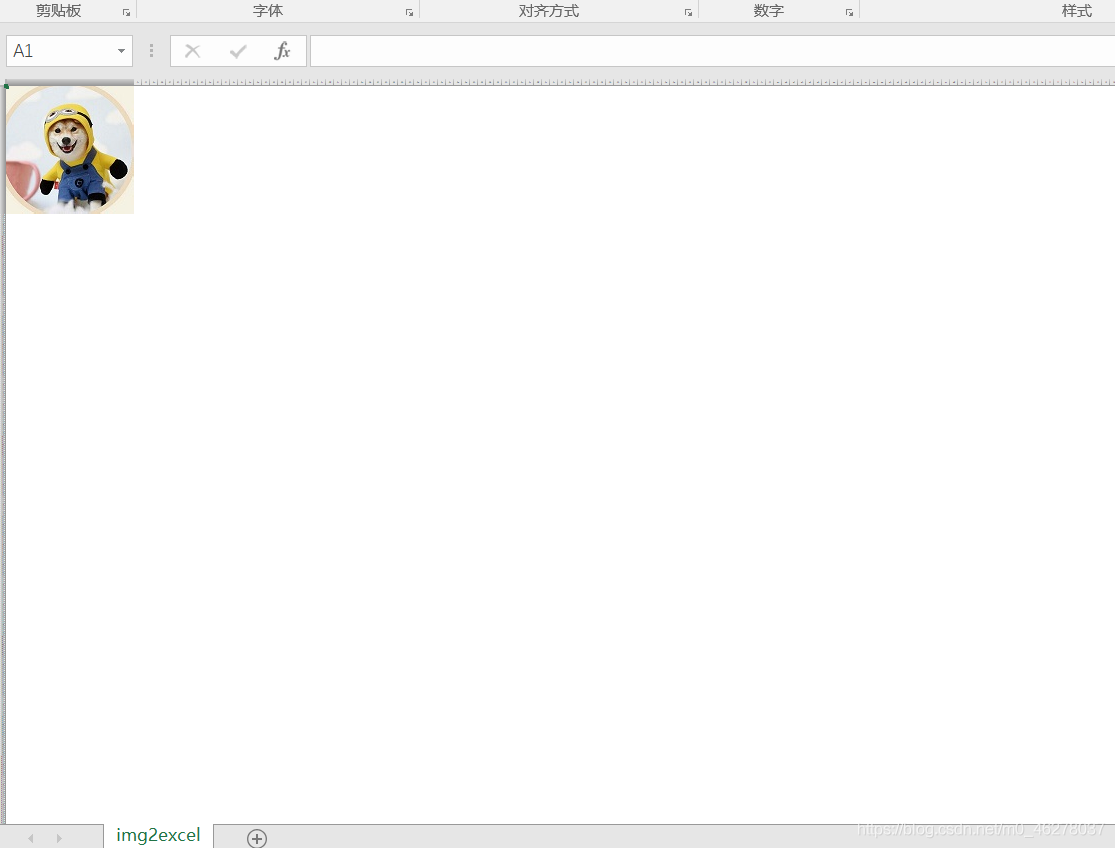
運(yùn)行:

原圖:

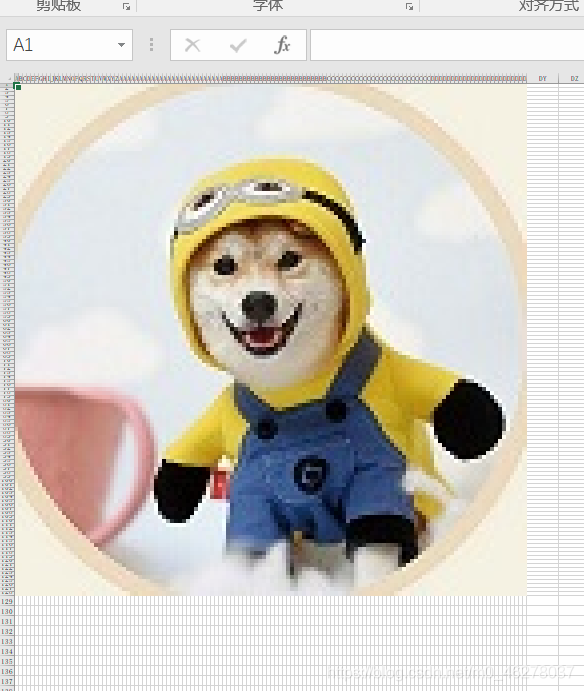
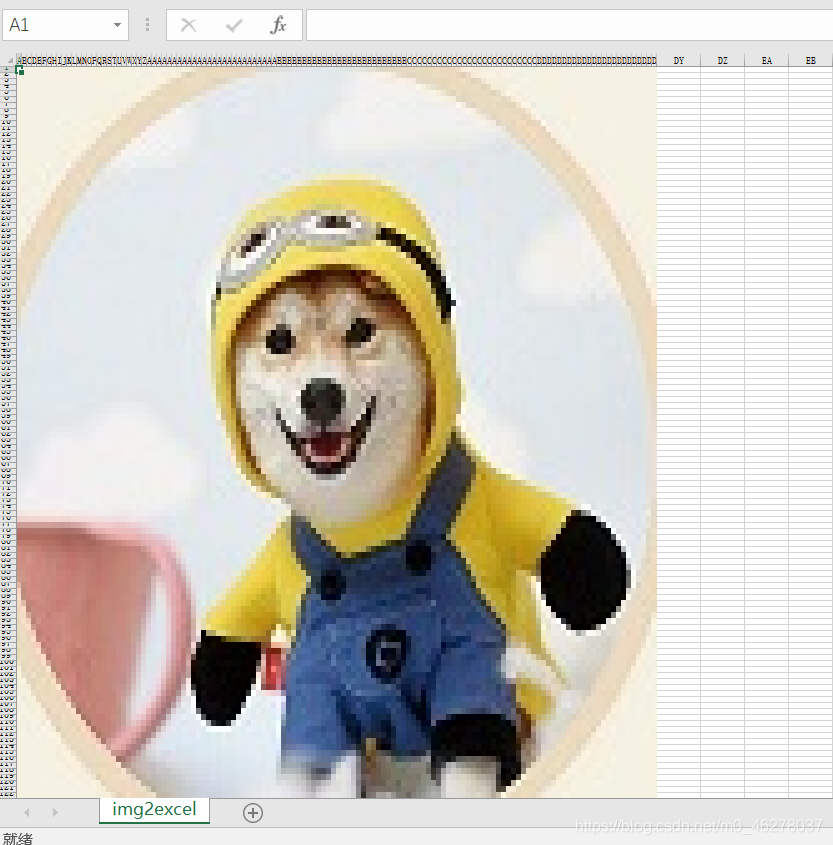
效果圖:
總結(jié)
到此這篇關(guān)于python讀取圖片顏色值并生成excel像素畫(huà)的文章就介紹到這了,更多相關(guān)python讀取圖片顏色值生成excel像素畫(huà)內(nèi)容請(qǐng)搜索好吧啦網(wǎng)以前的文章或繼續(xù)瀏覽下面的相關(guān)文章希望大家以后多多支持好吧啦網(wǎng)!
相關(guān)文章:
1. Echarts通過(guò)dataset數(shù)據(jù)集實(shí)現(xiàn)創(chuàng)建單軸散點(diǎn)圖2. Laravel操作session和cookie的教程詳解3. css進(jìn)階學(xué)習(xí) 選擇符4. 阿里前端開(kāi)發(fā)中的規(guī)范要求5. 解析原生JS getComputedStyle6. XML入門(mén)精解之結(jié)構(gòu)與語(yǔ)法7. XML入門(mén)的常見(jiàn)問(wèn)題(一)8. 將properties文件的配置設(shè)置為整個(gè)Web應(yīng)用的全局變量實(shí)現(xiàn)方法9. html小技巧之td,div標(biāo)簽里內(nèi)容不換行10. PHP字符串前后字符或空格刪除方法介紹

 網(wǎng)公網(wǎng)安備