SpringBoot使用Thymeleaf模板引擎訪問靜態html的過程
最近要做一個java web項目,因為頁面不是很多,所以就沒有前后端分離,前后端寫在一起,這時候就用到thymeleaf了,以下是不動腦式的傻瓜教程。。。。。
一:創建spring boot的web項目,過程略;
二:依賴如下:
<dependency> <groupId>org.springframework.boot</groupId> <artifactId>spring-boot-starter-web</artifactId> </dependency> <dependency> <groupId>org.springframework.boot</groupId> <artifactId>spring-boot-starter-thymeleaf</artifactId> <version>2.1.2.RELEASE</version> </dependency> <dependency> <groupId>org.springframework.boot</groupId> <artifactId>spring-boot-starter-test</artifactId> <scope>test</scope> <exclusions><exclusion> <groupId>org.junit.vintage</groupId> <artifactId>junit-vintage-engine</artifactId></exclusion> </exclusions> </dependency>
三:配置文件:application.properties
#端口號server.port=8099# 配置#thymeleafspring.thymeleaf.cache=falsespring.thymeleaf.prefix=classpath:/templates/spring.thymeleaf.check-template-location=truespring.thymeleaf.suffix=.htmlspring.thymeleaf.encoding=UTF-8spring.thymeleaf.servlet.content-type=text/htmlspring.thymeleaf.mode=HTML
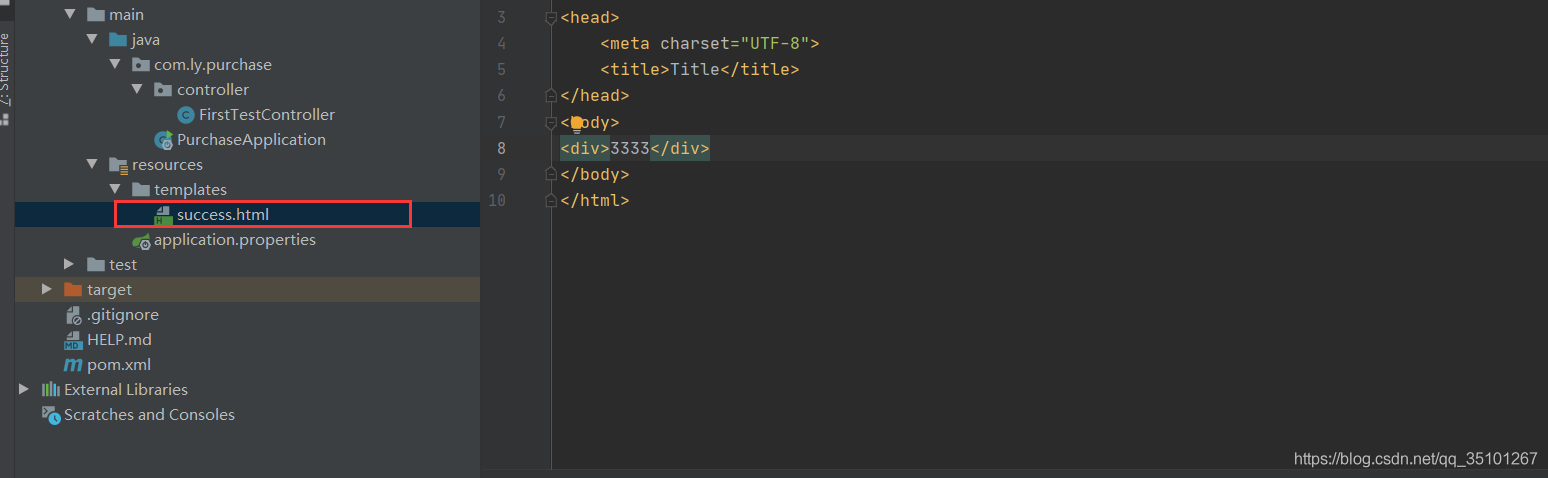
四:項目的templates文件夾下新建頁面success.html,如下
五:controller
import org.springframework.stereotype.Controller;import org.springframework.ui.ModelMap;import org.springframework.web.bind.annotation.RequestMapping; /** * @author liuhongyang * @2020/10/20 14:35 * 文件說明: */@Controllerpublic class FirstTestController { @RequestMapping(value = 'hello') public String hello(ModelMap modelMap) { modelMap.put('hei', 'thymeleaf'); return 'success'; }}
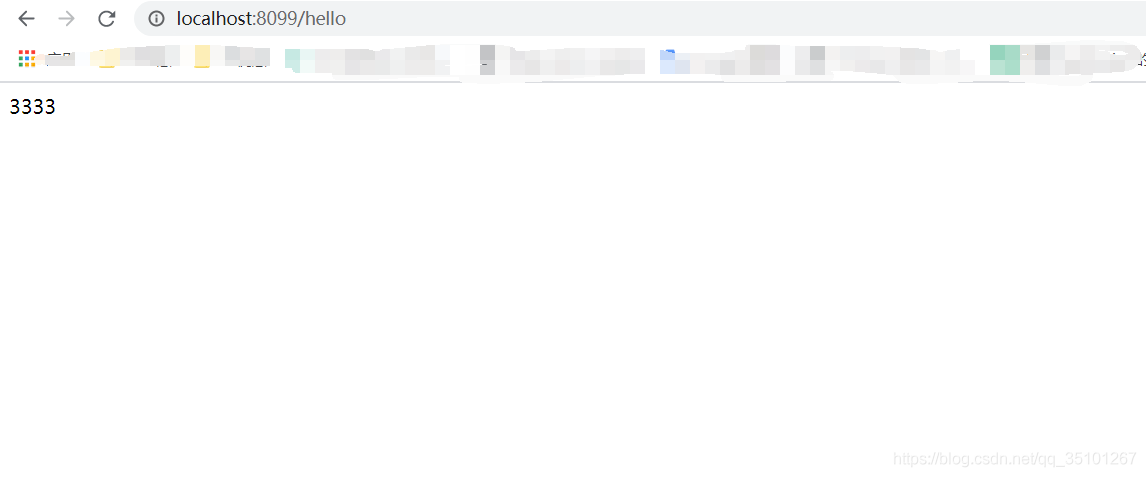
六:訪問如下,完成
到此這篇關于SpringBoot使用Thymeleaf模板引擎訪問靜態html的過程的文章就介紹到這了,更多相關SpringBoot Thymeleaf模板訪問靜態html內容請搜索好吧啦網以前的文章或繼續瀏覽下面的相關文章希望大家以后多多支持好吧啦網!
相關文章:

 網公網安備
網公網安備