Android Studio連接MySql實現登錄注冊(附源代碼)
本文主要介紹了Android Studio連接MySql實現登錄注冊,分享給大家,具體如下:

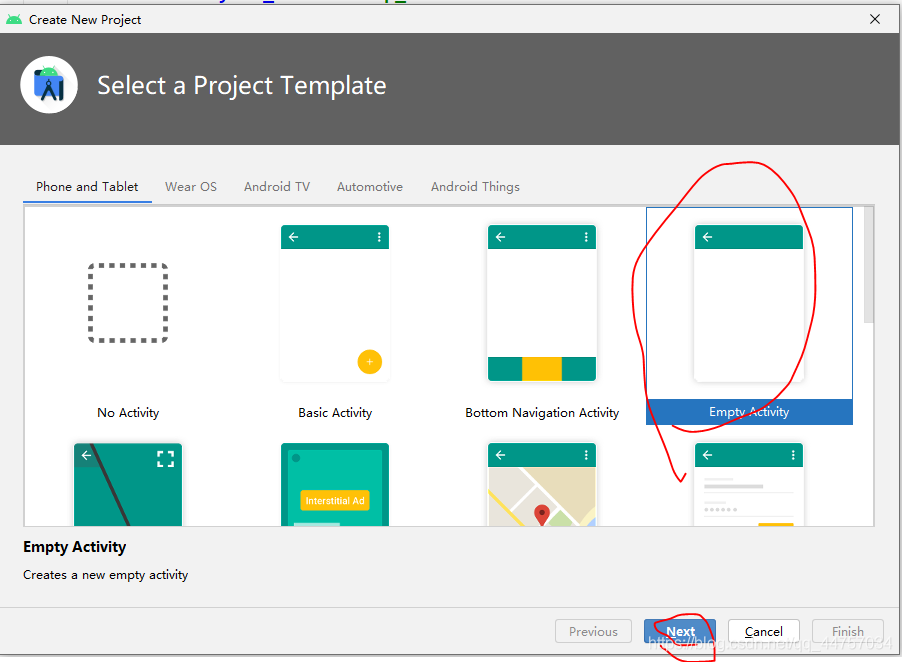
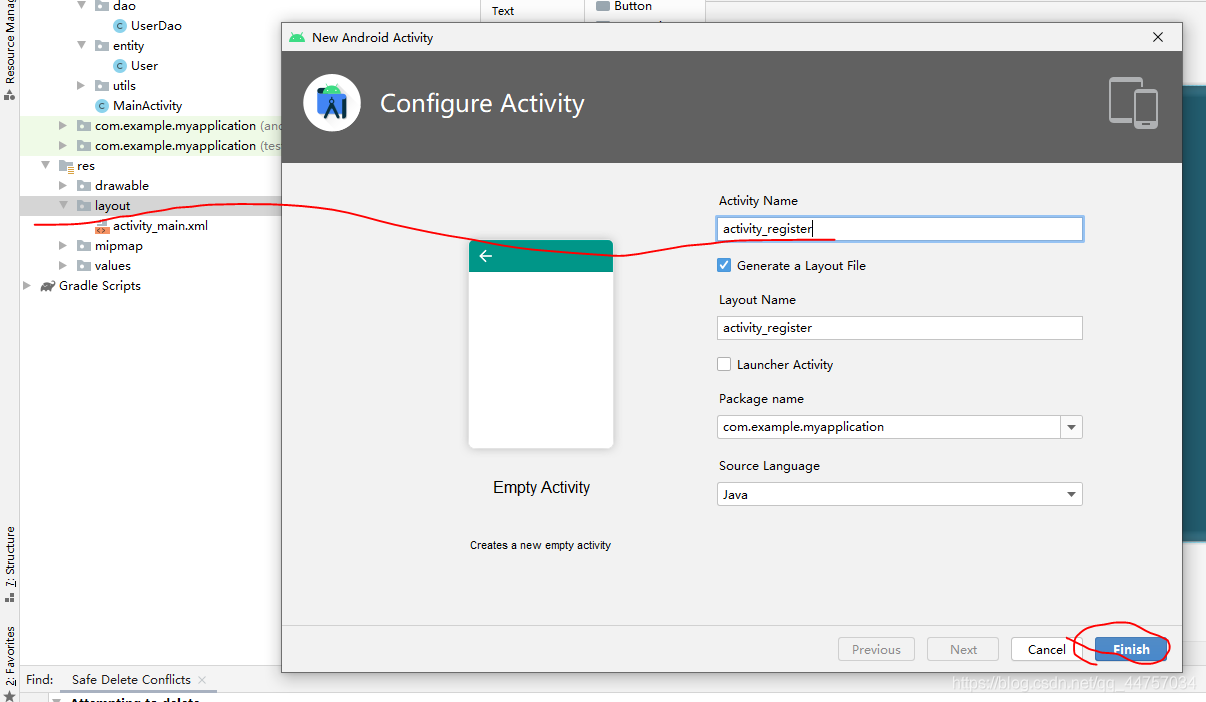
1、創建一個空白工程
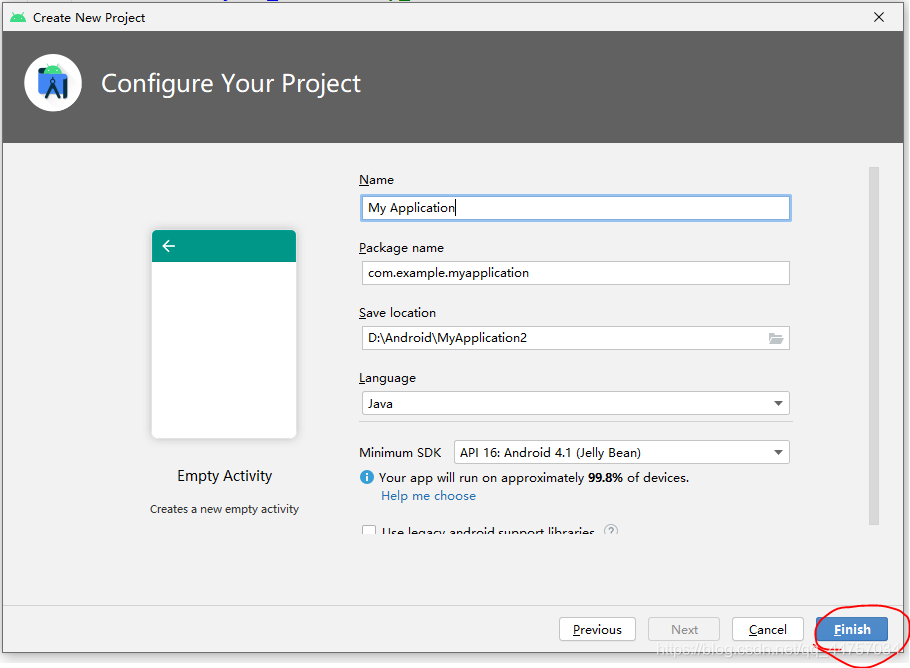
2、隨便起一個名稱
3、設置網絡連接權限
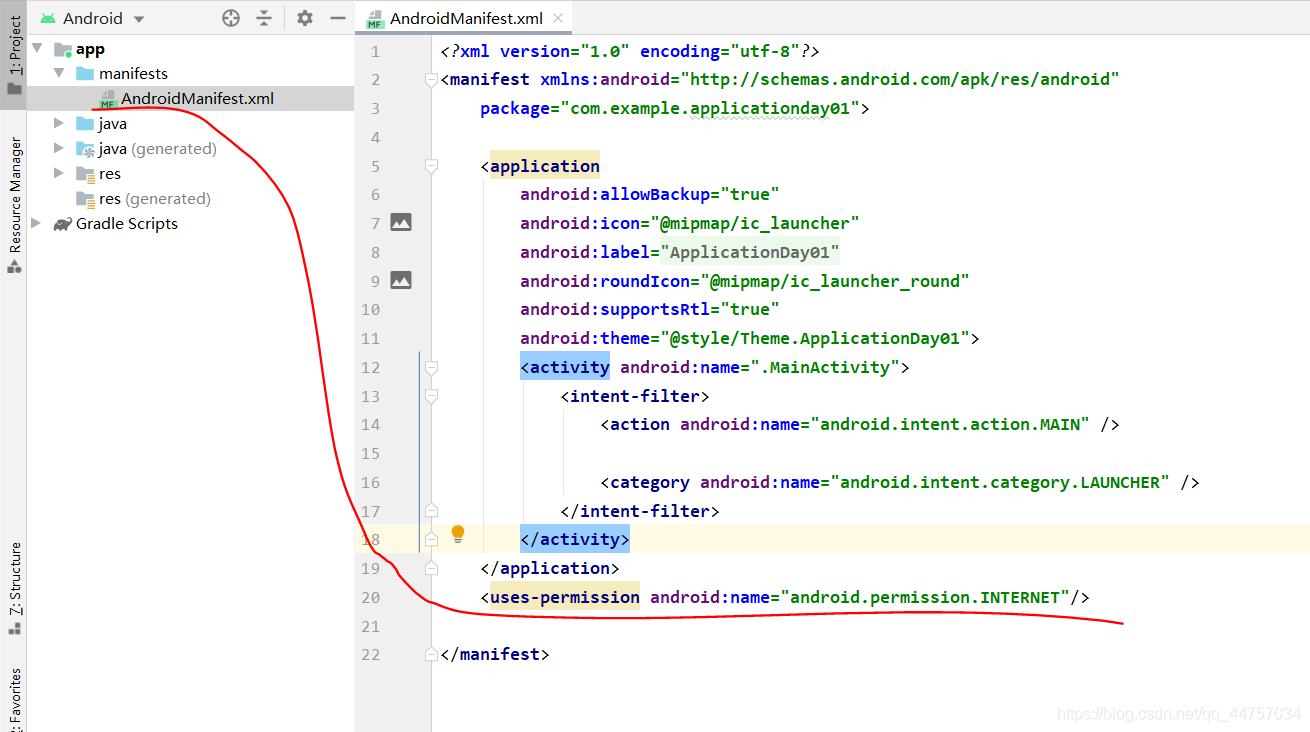
<uses-permission android:name='android.permission.INTERNET'/>二、引入Mysql驅動包
1、切換到普通Java工程
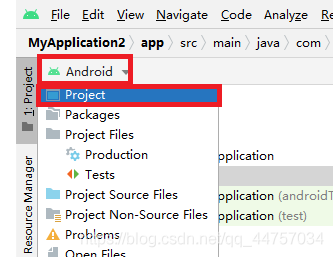
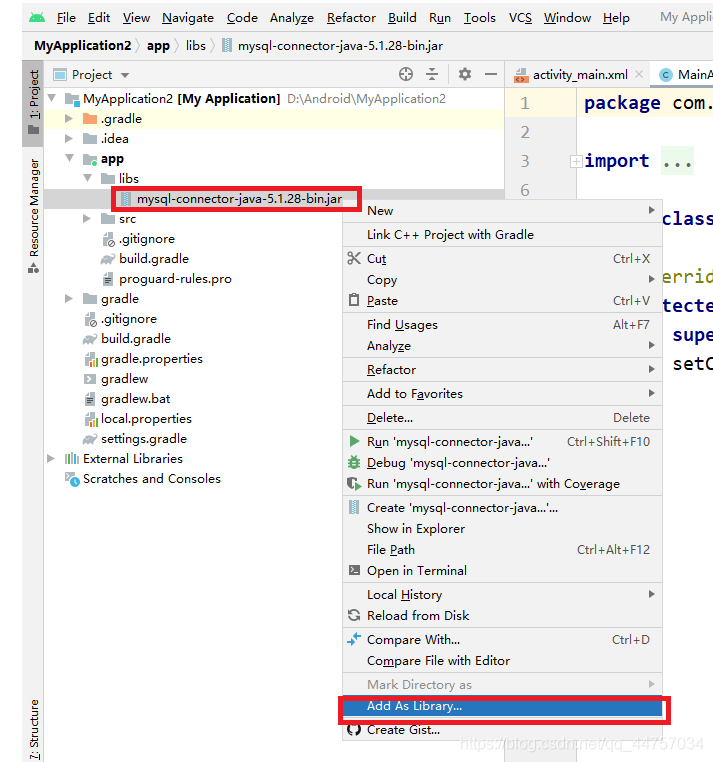
2、在libs當中引入MySQL的jar包
將mysql的驅動包復制到libs當中

1、在數據庫當中創建表
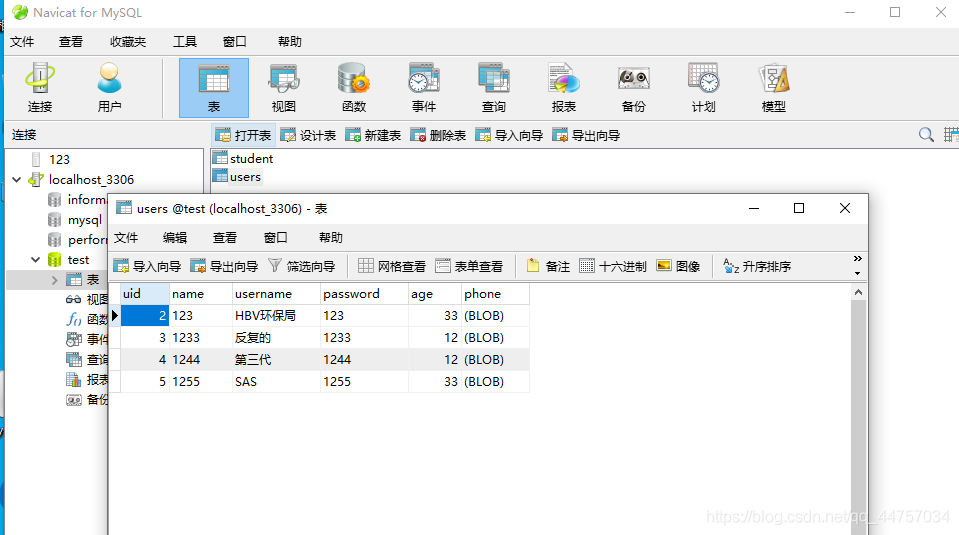
SQL語句
/*Navicat MySQL Data TransferSource Server : localhost_3306Source Server Version : 50562Source Host : localhost:3306Source Database : testTarget Server Type : MYSQLTarget Server Version : 50562File Encoding : 65001Date: 2021-05-10 17:28:36*/SET FOREIGN_KEY_CHECKS=0;-- ------------------------------ Table structure for `student`-- ----------------------------DROP TABLE IF EXISTS `student`;CREATE TABLE `student` ( `sid` int(11) NOT NULL AUTO_INCREMENT, `sname` varchar(255) NOT NULL, `sage` int(11) NOT NULL, `address` varchar(255) NOT NULL, PRIMARY KEY (`sid`)) ENGINE=InnoDB AUTO_INCREMENT=3 DEFAULT CHARSET=utf8;-- ------------------------------ Records of student-- ----------------------------INSERT INTO `student` VALUES (’1’, ’andi’, ’21’, ’21212’);INSERT INTO `student` VALUES (’2’, ’a’, ’2121’, ’2121’);-- ------------------------------ Table structure for `users`-- ----------------------------DROP TABLE IF EXISTS `users`;CREATE TABLE `users` ( `uid` int(11) NOT NULL AUTO_INCREMENT, `name` varchar(255) NOT NULL, `username` varchar(255) NOT NULL, `password` varchar(255) NOT NULL, `age` int(255) NOT NULL, `phone` longblob NOT NULL, PRIMARY KEY (`uid`)) ENGINE=InnoDB AUTO_INCREMENT=6 DEFAULT CHARSET=utf8;-- ------------------------------ Records of users-- ----------------------------INSERT INTO `users` VALUES (’2’, ’123’, ’HBV環保局’, ’123’, ’33’, 0x3133333333333333333333);INSERT INTO `users` VALUES (’3’, ’1233’, ’反復的’, ’1233’, ’12’, 0x3132333333333333333333);INSERT INTO `users` VALUES (’4’, ’1244’, ’第三代’, ’1244’, ’12’, 0x3133333333333333333333);INSERT INTO `users` VALUES (’5’, ’1255’, ’SAS’, ’1255’, ’33’, 0x3133333333333333333333);
2、在Android Studio當中創建JDBCUtils類
切換會Android視圖


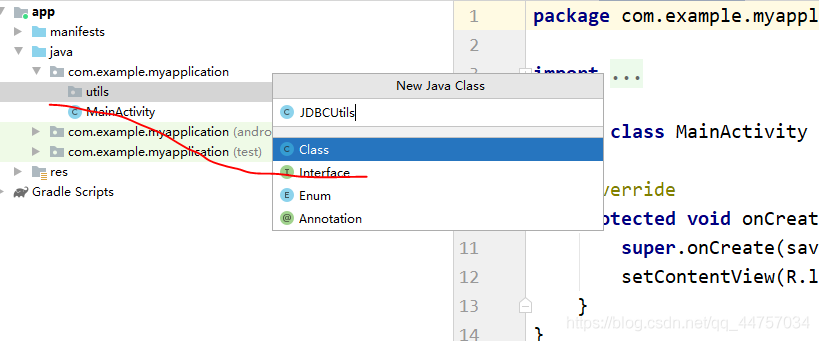

注意鏈接數據庫的地址是:jdbc:mysql://10.0.2.2:3306/test
package com.example.myapplication.utils;import java.sql.Connection;import java.sql.DriverManager;import java.sql.SQLException;public class JDBCUtils { static {try { Class.forName('com.mysql.jdbc.Driver');} catch (ClassNotFoundException e) { e.printStackTrace();} } public static Connection getConn() {Connection conn = null;try { conn= DriverManager.getConnection('jdbc:mysql://10.0.2.2:3306/test','root','root');}catch (Exception exception){ exception.printStackTrace();}return conn; } public static void close(Connection conn){try { conn.close();} catch (SQLException throwables) { throwables.printStackTrace();} }}
3、創建User實體類
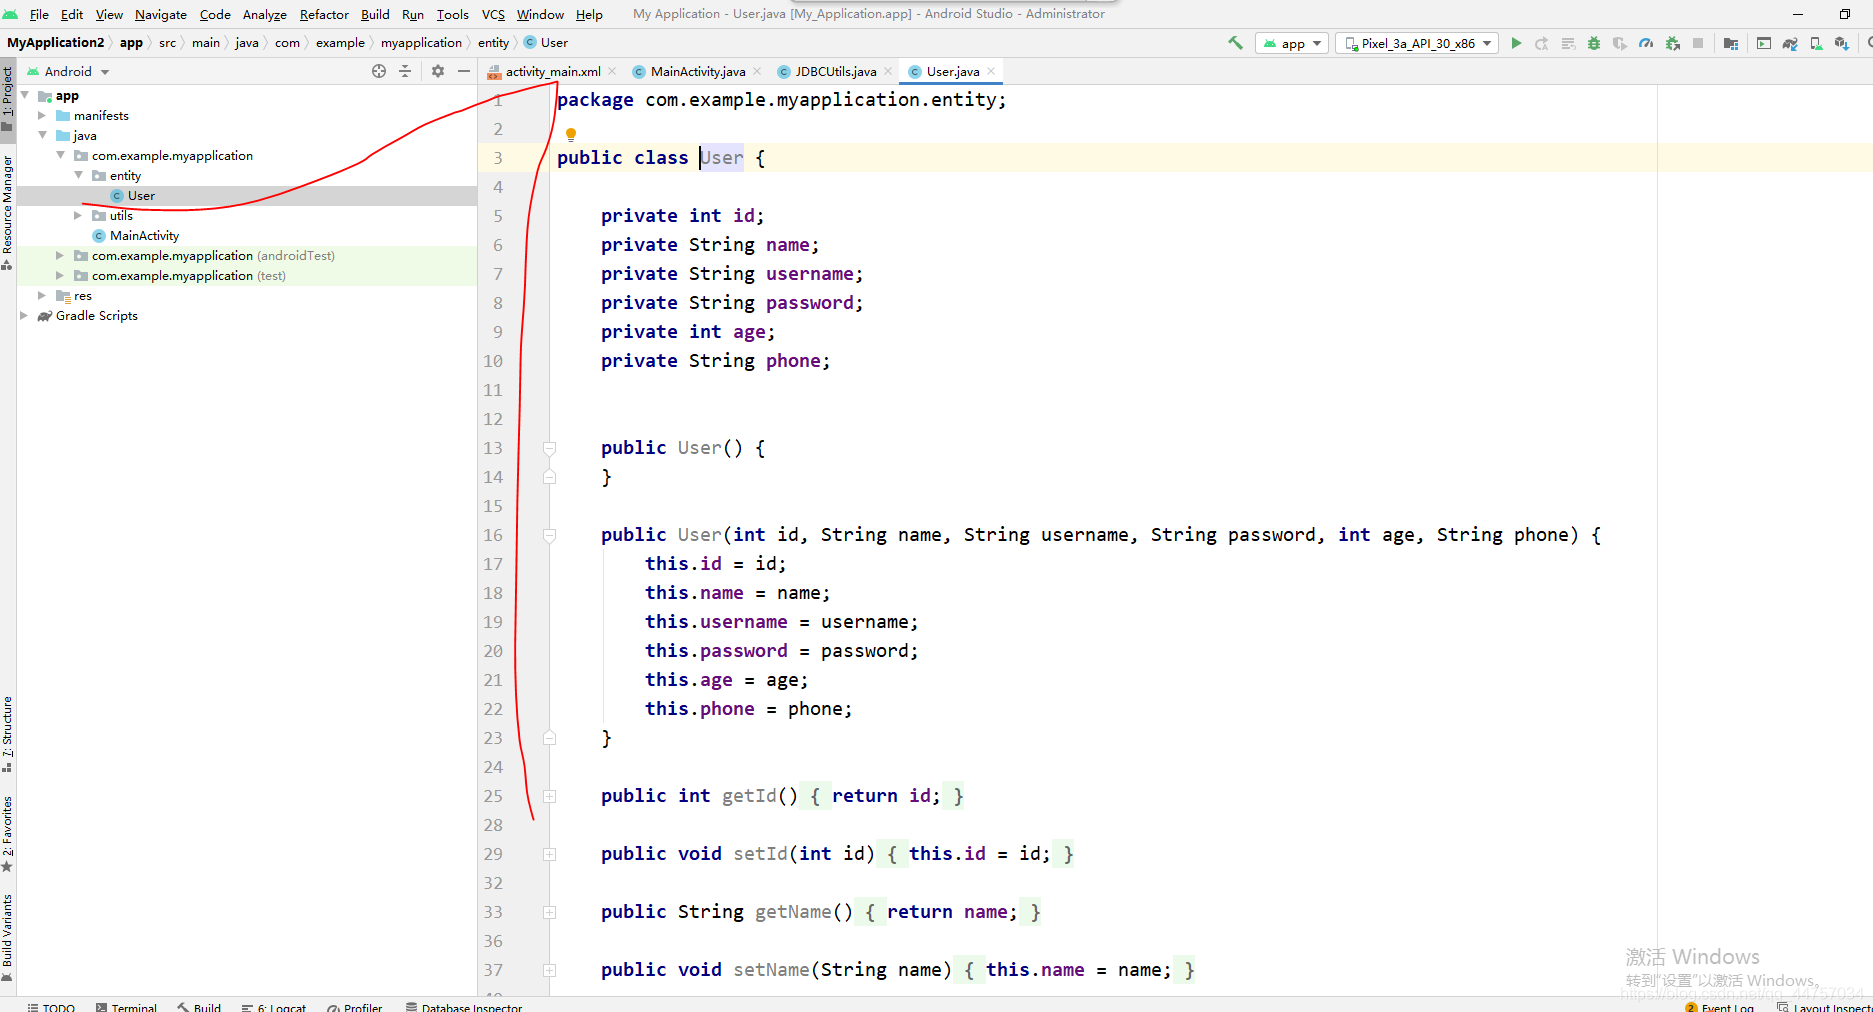
package com.example.myapplication.entity;public class User { private int id; private String name; private String username; private String password; private int age; private String phone; public User() { } public User(int id, String name, String username, String password, int age, String phone) {this.id = id;this.name = name;this.username = username;this.password = password;this.age = age;this.phone = phone; } public int getId() {return id; } public void setId(int id) {this.id = id; } public String getName() {return name; } public void setName(String name) {this.name = name; } public String getUsername() {return username; } public void setUsername(String username) {this.username = username; } public String getPassword() {return password; } public void setPassword(String password) {this.password = password; } public int getAge() {return age; } public void setAge(int age) {this.age = age; } public String getPhone() {return phone; } public void setPhone(String phone) {this.phone = phone; }}
4、創建dao層和UserDao
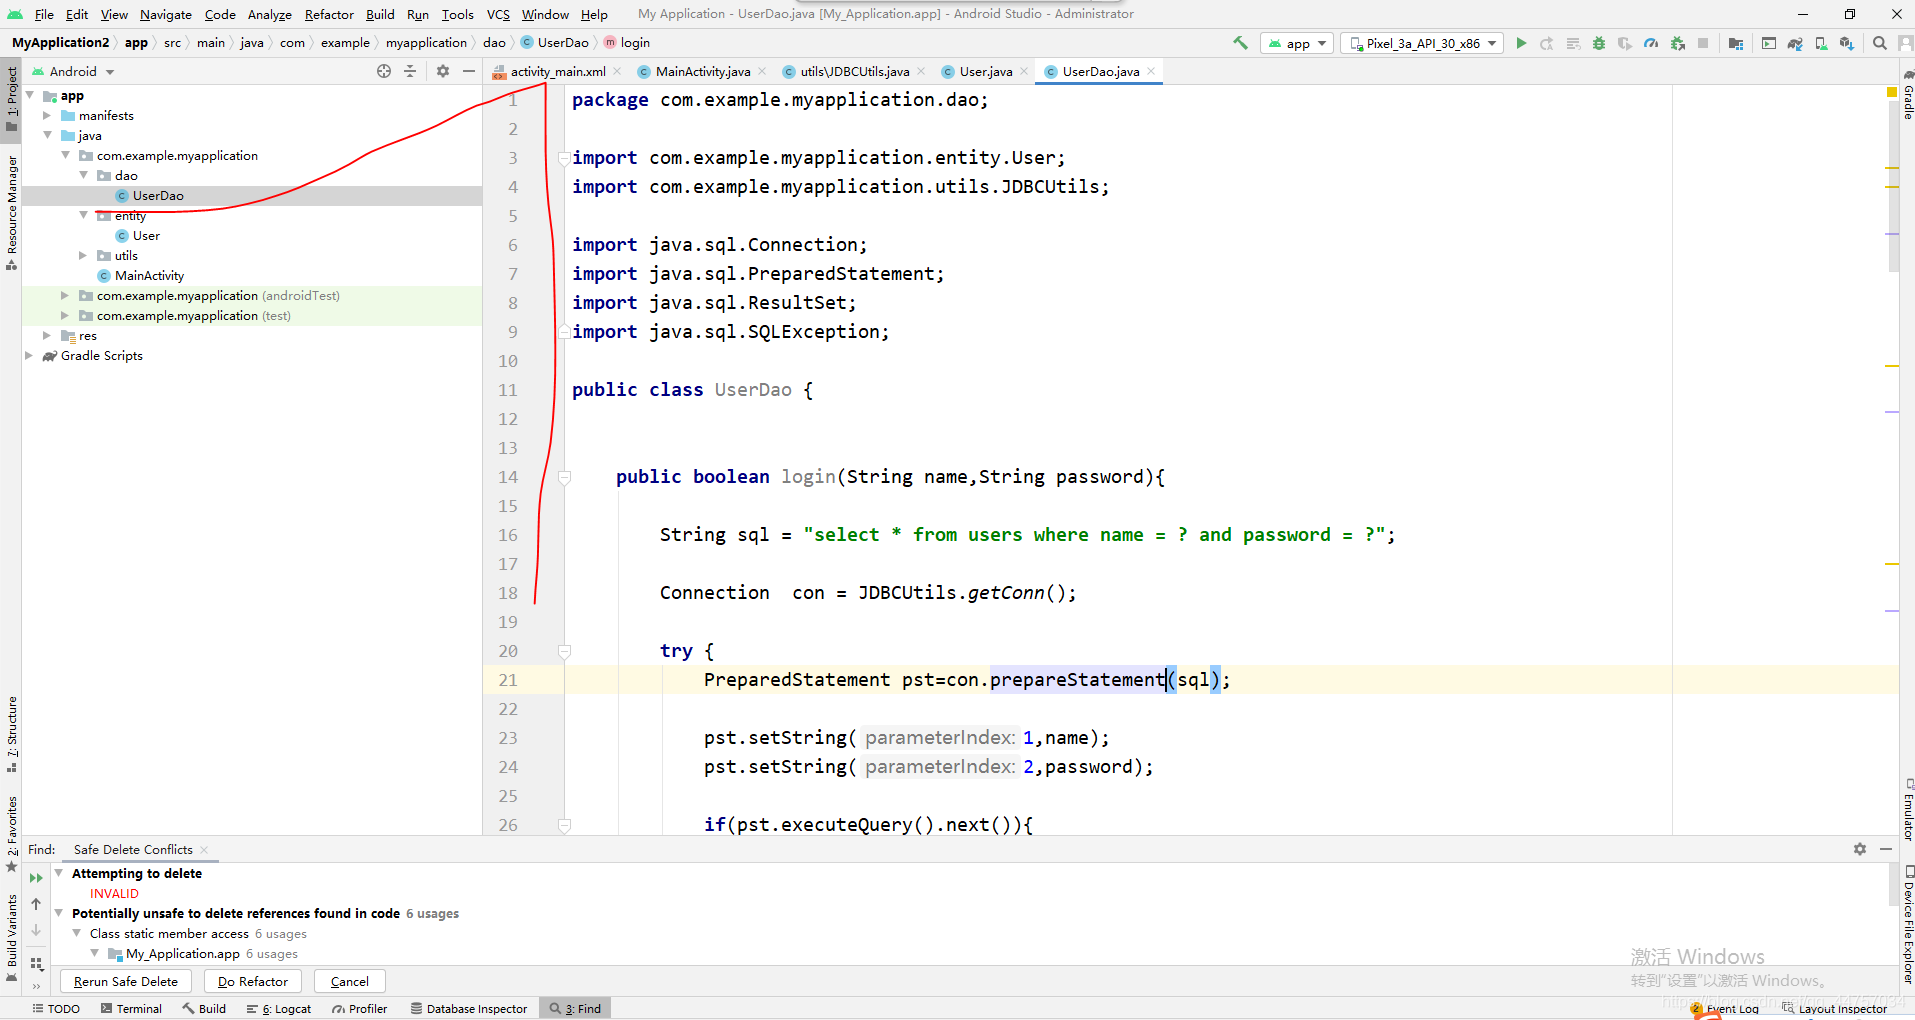
package com.example.myapplication.dao;import com.example.myapplication.entity.User;import com.example.myapplication.utils.JDBCUtils;import java.sql.Connection;import java.sql.PreparedStatement;import java.sql.ResultSet;import java.sql.SQLException;public class UserDao { public boolean login(String name,String password){String sql = 'select * from users where name = ? and password = ?';Connection con = JDBCUtils.getConn();try { PreparedStatement pst=con.prepareStatement(sql); pst.setString(1,name); pst.setString(2,password); if(pst.executeQuery().next()){return true; }} catch (SQLException throwables) { throwables.printStackTrace();}finally { JDBCUtils.close(con);}return false; } public boolean register(User user){String sql = 'insert into users(name,username,password,age,phone) values (?,?,?,?,?)';Connection con = JDBCUtils.getConn();try { PreparedStatement pst=con.prepareStatement(sql); pst.setString(1,user.getName()); pst.setString(2,user.getUsername()); pst.setString(3,user.getPassword()); pst.setInt(4,user.getAge()); pst.setString(5,user.getPhone()); int value = pst.executeUpdate(); if(value>0){return true; }} catch (SQLException throwables) { throwables.printStackTrace();}finally { JDBCUtils.close(con);}return false; } public User findUser(String name){String sql = 'select * from users where name = ?';Connection con = JDBCUtils.getConn();User user = null;try { PreparedStatement pst=con.prepareStatement(sql); pst.setString(1,name); ResultSet rs = pst.executeQuery(); while (rs.next()){ int id = rs.getInt(0); String namedb = rs.getString(1); String username = rs.getString(2); String passworddb = rs.getString(3); int age = rs.getInt(4);String phone = rs.getString(5); user = new User(id,namedb,username,passworddb,age,phone); }} catch (SQLException throwables) { throwables.printStackTrace();}finally { JDBCUtils.close(con);}return user; }}四、編寫頁面和Activity相關代碼
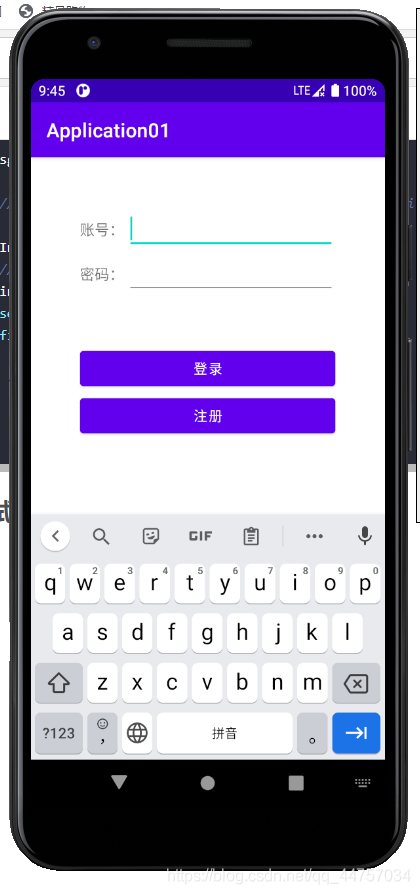
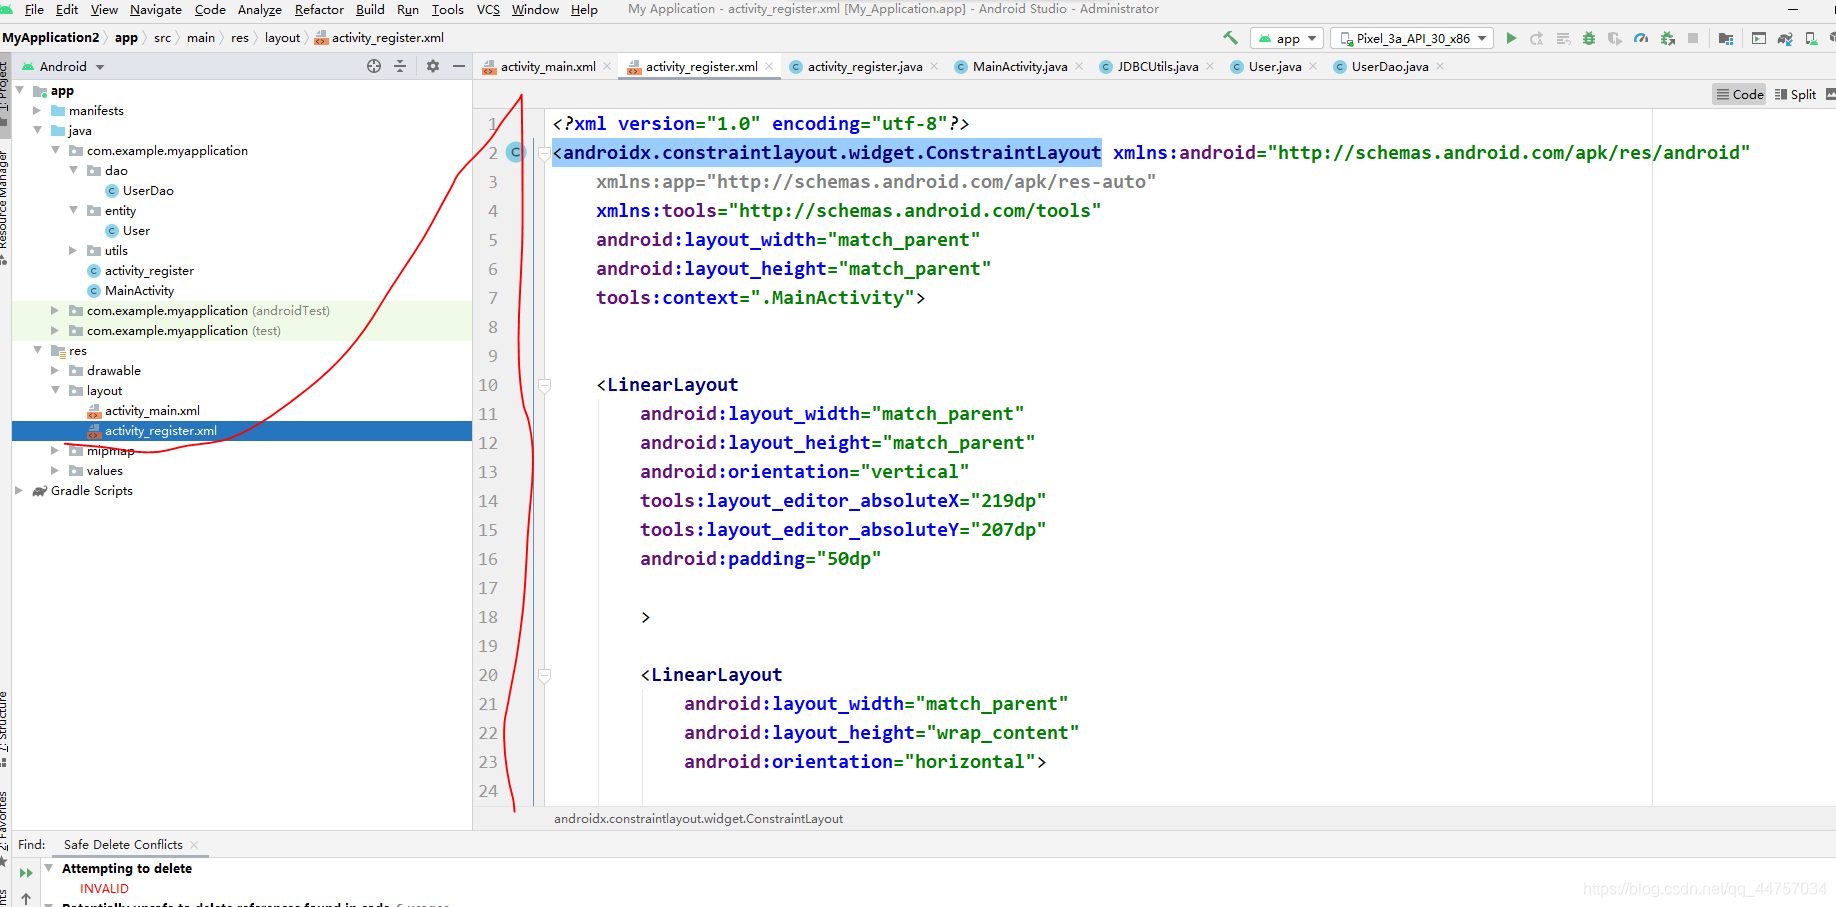
1、編寫登錄頁面
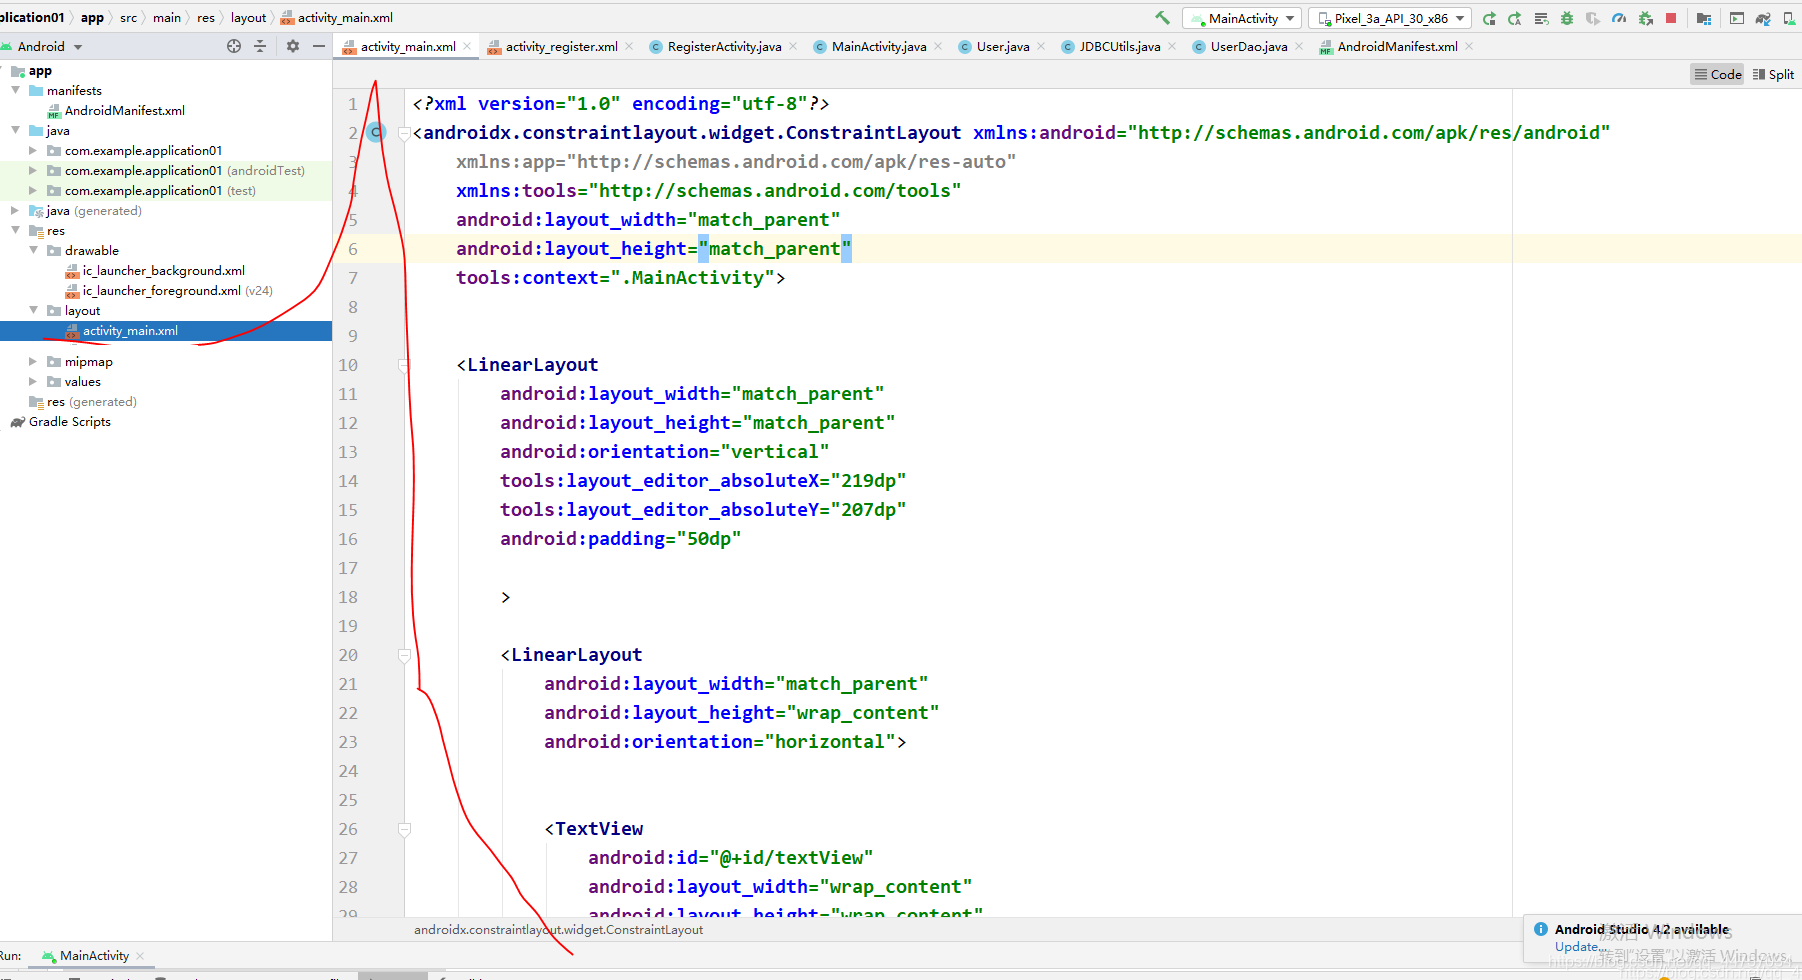
<?xml version='1.0' encoding='utf-8'?><androidx.constraintlayout.widget.ConstraintLayout xmlns:android='http://schemas.android.com/apk/res/android' xmlns:app='http://schemas.android.com/apk/res-auto' xmlns:tools='http://schemas.android.com/tools' android:layout_width='match_parent' android:layout_height='match_parent' tools:context='.MainActivity'> <LinearLayoutandroid:layout_width='match_parent'android:layout_height='match_parent'android:orientation='vertical'tools:layout_editor_absoluteX='219dp'tools:layout_editor_absoluteY='207dp'android:padding='50dp'><LinearLayout android:layout_width='match_parent' android:layout_height='wrap_content' android:orientation='horizontal'> <TextViewandroid: android:layout_width='wrap_content'android:layout_height='wrap_content'android:layout_weight='1'android:textSize='15sp'android:text='賬號:' /> <EditTextandroid: android:layout_width='wrap_content'android:layout_height='wrap_content'android:layout_weight='1'android:ems='10'android:inputType='textPersonName'android:text='' /></LinearLayout><LinearLayout android:layout_width='match_parent' android:layout_height='wrap_content' android:orientation='horizontal'> <TextViewandroid: android:layout_width='wrap_content'android:layout_height='wrap_content'android:layout_weight='1'android:textSize='15sp'android:text='密碼:'/> <EditTextandroid: android:layout_width='wrap_content'android:layout_height='wrap_content'android:layout_weight='1'android:ems='10'android:inputType='textPersonName' /></LinearLayout><LinearLayout android:layout_width='match_parent' android:layout_height='wrap_content' android:orientation='horizontal'></LinearLayout><Button android:layout_marginTop='50dp' android: android:layout_width='match_parent' android:layout_height='wrap_content' android:text='登錄' android:onClick='login' /><Button android: android:layout_width='match_parent' android:layout_height='wrap_content' android:onClick='reg' android:text='注冊' /> </LinearLayout></androidx.constraintlayout.widget.ConstraintLayout>
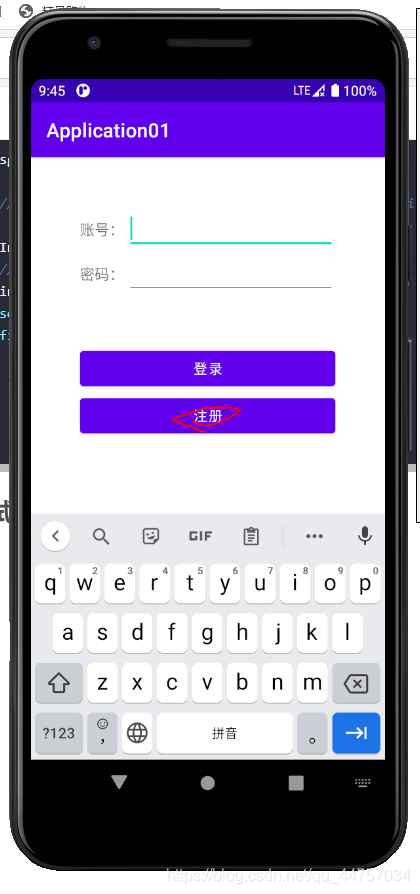
效果

2、編寫注冊頁面代碼

<?xml version='1.0' encoding='utf-8'?><androidx.constraintlayout.widget.ConstraintLayout xmlns:android='http://schemas.android.com/apk/res/android' xmlns:app='http://schemas.android.com/apk/res-auto' xmlns:tools='http://schemas.android.com/tools' android:layout_width='match_parent' android:layout_height='match_parent' tools:context='.MainActivity'> <LinearLayoutandroid:layout_width='match_parent'android:layout_height='match_parent'android:orientation='vertical'tools:layout_editor_absoluteX='219dp'tools:layout_editor_absoluteY='207dp'android:padding='50dp'><LinearLayout android:layout_width='match_parent' android:layout_height='wrap_content' android:orientation='horizontal'> <TextViewandroid: android:layout_width='wrap_content'android:layout_height='wrap_content'android:layout_weight='1'android:textSize='15sp'android:text='賬號:' /> <EditTextandroid: android:layout_width='wrap_content'android:layout_height='wrap_content'android:layout_weight='1'android:ems='10'android:inputType='textPersonName'android:text='' /></LinearLayout><LinearLayout android:layout_width='match_parent' android:layout_height='wrap_content' android:orientation='horizontal'> <TextViewandroid: android:layout_width='wrap_content'android:layout_height='wrap_content'android:layout_weight='1'android:textSize='15sp'android:text='密碼:'/> <EditTextandroid: android:layout_width='wrap_content'android:layout_height='wrap_content'android:layout_weight='1'android:ems='10'android:inputType='textPersonName'/></LinearLayout><LinearLayout android:layout_width='match_parent' android:layout_height='wrap_content' android:orientation='horizontal'></LinearLayout><Button android:layout_marginTop='50dp' android: android:layout_width='match_parent' android:layout_height='wrap_content' android:text='登錄' android:onClick='login' /><Button android: android:layout_width='match_parent' android:layout_height='wrap_content' android:onClick='reg' android:text='注冊' /> </LinearLayout></androidx.constraintlayout.widget.ConstraintLayout>
3、完善MainActivity
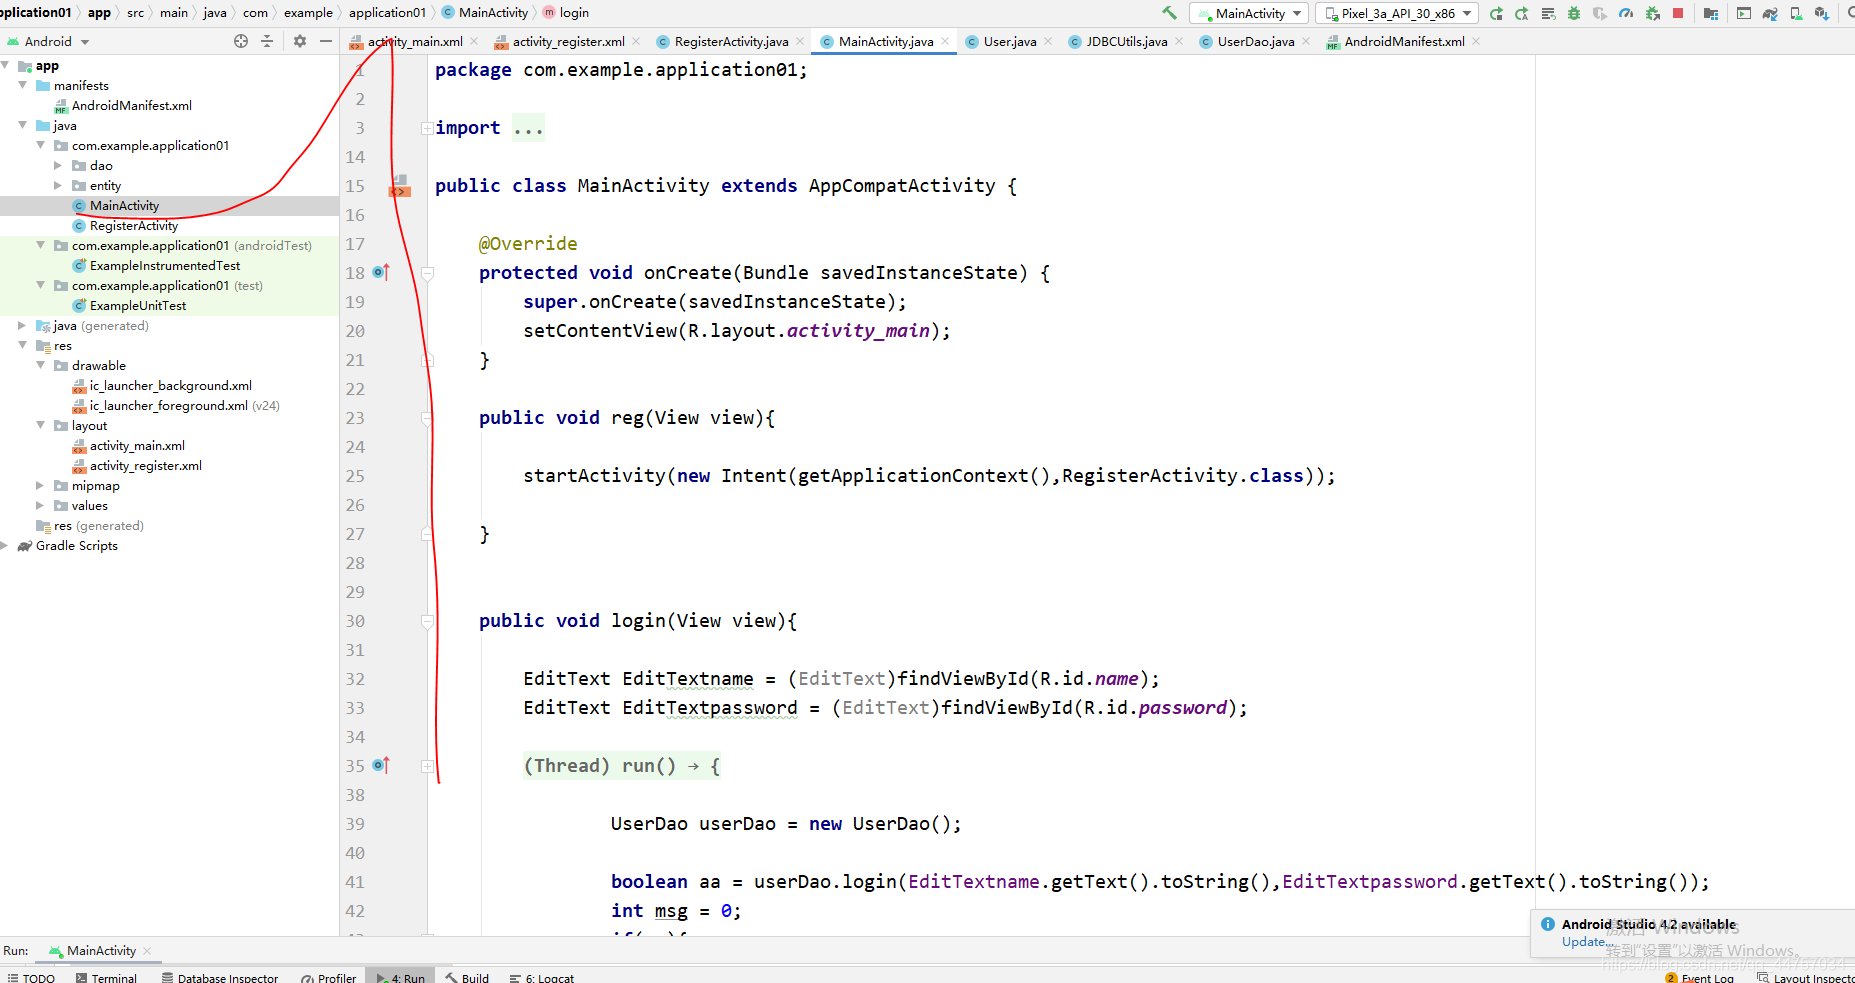
package com.example.application01;import androidx.appcompat.app.AppCompatActivity;import android.content.Intent;import android.os.Bundle;import android.os.Handler;import android.os.Message;import android.view.View;import android.widget.EditText;import android.widget.Toast;import com.example.application01.dao.UserDao;public class MainActivity extends AppCompatActivity { @Override protected void onCreate(Bundle savedInstanceState) {super.onCreate(savedInstanceState);setContentView(R.layout.activity_main); } public void reg(View view){startActivity(new Intent(getApplicationContext(),RegisterActivity.class)); } public void login(View view){EditText EditTextname = (EditText)findViewById(R.id.name);EditText EditTextpassword = (EditText)findViewById(R.id.password);new Thread(){ @Override public void run() {UserDao userDao = new UserDao();boolean aa = userDao.login(EditTextname.getText().toString(),EditTextpassword.getText().toString());int msg = 0;if(aa){ msg = 1;}hand1.sendEmptyMessage(msg); }}.start(); } final Handler hand1 = new Handler() {@Overridepublic void handleMessage(Message msg) { if(msg.what == 1) {Toast.makeText(getApplicationContext(),'登錄成功',Toast.LENGTH_LONG).show(); } else {Toast.makeText(getApplicationContext(),'登錄失敗',Toast.LENGTH_LONG).show(); }} };}
4、完善RegisterActivity

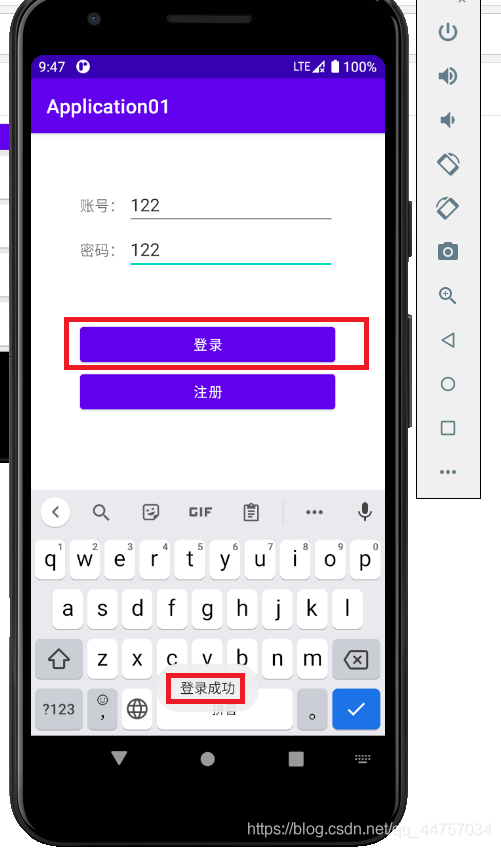
package com.example.application01;import androidx.appcompat.app.AppCompatActivity;import android.content.Intent;import android.os.Bundle;import android.os.Handler;import android.os.Message;import android.view.View;import android.widget.EditText;import android.widget.Toast;import com.example.application01.dao.UserDao;import com.example.application01.entity.User;public class RegisterActivity extends AppCompatActivity { EditText name = null; EditText username = null; EditText password = null; EditText phone = null; EditText age = null; @Override protected void onCreate(Bundle savedInstanceState) {super.onCreate(savedInstanceState);setContentView(R.layout.activity_register); name = findViewById(R.id.name); username = findViewById(R.id.username); password = findViewById(R.id.password); phone = findViewById(R.id.phone); age = findViewById(R.id.age); } public void register(View view){String cname = name.getText().toString();String cusername = username.getText().toString();String cpassword = password.getText().toString();System.out.println(phone.getText().toString());String cphone = phone.getText().toString();int cgae = Integer.parseInt(age.getText().toString());if(cname.length() < 2 || cusername.length() < 2 || cpassword.length() < 2 ){ Toast.makeText(getApplicationContext(),'輸入信息不符合要求請重新輸入',Toast.LENGTH_LONG).show(); return;}User user = new User();user.setName(cname);user.setUsername(cusername);user.setPassword(cpassword);user.setAge(cgae);user.setPhone(cphone);new Thread(){ @Override public void run() {int msg = 0;UserDao userDao = new UserDao();User uu = userDao.findUser(user.getName());if(uu != null){ msg = 1;}boolean flag = userDao.register(user);if(flag){ msg = 2;}hand.sendEmptyMessage(msg); }}.start(); } final Handler hand = new Handler() {@Overridepublic void handleMessage(Message msg) { if(msg.what == 0) {Toast.makeText(getApplicationContext(),'注冊失敗',Toast.LENGTH_LONG).show(); } if(msg.what == 1) {Toast.makeText(getApplicationContext(),'該賬號已經存在,請換一個賬號',Toast.LENGTH_LONG).show(); } if(msg.what == 2) {//startActivity(new Intent(getApplication(),MainActivity.class));Intent intent = new Intent();//將想要傳遞的數據用putExtra封裝在intent中intent.putExtra('a','???);setResult(RESULT_CANCELED,intent);finish(); }} };}五、運行測試效果

到此這篇關于Android Studio連接MySql實現登錄注冊(附源代碼) 的文章就介紹到這了,更多相關Android Studio 登錄注冊內容請搜索好吧啦網以前的文章或繼續瀏覽下面的相關文章希望大家以后多多支持好吧啦網!
相關文章:
 網公網安備
網公網安備