文章詳情頁
源碼安裝apache腳本部署過程詳解
瀏覽:93日期:2023-03-07 14:40:48
目錄
- 源碼安裝apache腳本部署
源碼安裝apache腳本部署
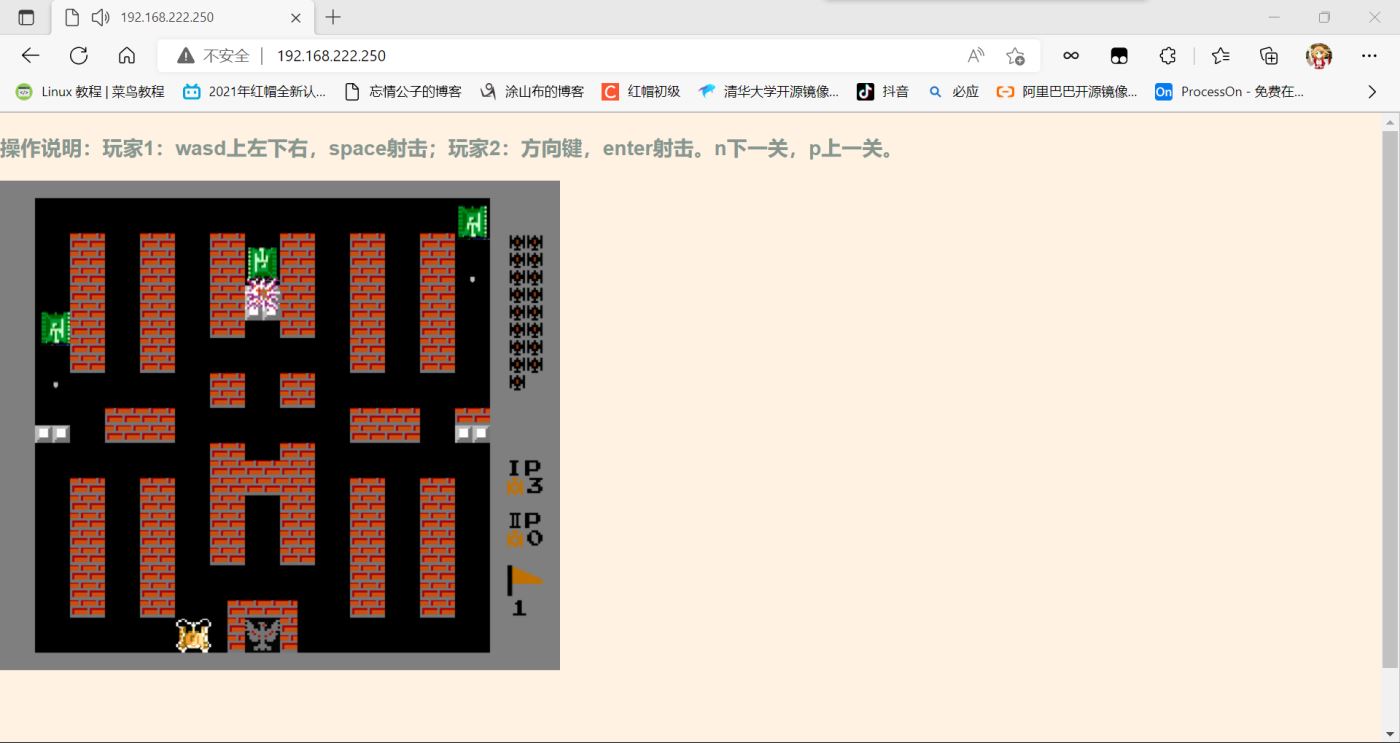
[root@localhost ~]# lsanaconda-ks.cfg httpd.tar.xz[root@localhost ~]# tar xf httpd.tar.xz 解壓存放腳本的壓縮包[root@localhost ~]# lsanaconda-ks.cfg httpd httpd.tar.xz[root@localhost ~]# cd httpd/[root@localhost httpd]# lsapache_lnh.sh(編譯安裝apache腳本) config.sh(附屬腳本) files[root@localhost httpd]# ls files/ //存放安裝包的目錄apr-1.7.0.tar.gz apr-util-1.6.1.tar.gz httpd-2.4.53.tar.gz httpd-2.4.54.tar.gz zhuawawa(源碼包的目錄)[root@localhost httpd]# cat apache_lnh.sh #/bin/bash#列出httpd版本號進行選擇cat > /tmp/xbz.txt <<EOF請輸入要安裝的版本序號:1. 2.4.542. 2.4.53q. 退出EOFcat /tmp/xbz.txtread -p "選擇版本號" apache_versioncase $apache_version in1)apache_version=$(awk "NR==2{print $2}" /tmp/xbz.txt)echo $apache_version;;2)apache_version=$(awk "NR==3{print $2}" /tmp/xbz.txt)echo $apache_version;;q)apache_version=$(awk "NR==4{print $2}" /tmp/xbz.txt)echo $apache_versionexit;;*)echo "錯誤輸入"exitesac#設置執行權限if [ $UID -ne 0 ];thenecho "請以管理員用戶進行執行"exitfi#定義變量install_dir=/usr/local/apache#創建用戶id apache &> /dev/nullif [ $? -ne 0 ];then useradd -r -M -s /sbin/nologin apache else echo "用戶已存在"fi#安裝依賴包dnf -y install openssl-devel pcre-devel expat-devel libtool gcc gcc-c++ wget make vim zip --allowerasing#解壓源碼包rm -rf /tmp/*tar xf files/apr-1.7.0.tar.gz -C /tmp/tar xf files/apr-util-1.6.1.tar.gz -C /tmp/tar xf files/httpd-$apache_version.tar.gz -C /tmp/#編譯安裝aprcd /tmp/apr-1.7.0if [ ! -d /usr/local/apr ];thensed -i "/$RM "$cfgfile"/d" configure./configure --prefix=/usr/local/apr && \make && make install elsels /usr/localecho "apr 編譯安裝完成"fi#編譯安裝apr-utilcd ../apr-util-1.6.1/if [ ! -d /usr/local/apr-util ];then./configure --prefix=/usr/local/apr-util --with-apr=/usr/local/apr && \make && make installelse ls /usr/local/ echo "apr-util 編譯安裝完成" fi#編譯安裝httpdcd ../httpd-$apache_version/if [ ! -d ${install_dir} ];then ./configure --prefix=${install_dir} \ --enable-so \ --enable-ssl \ --enable-cgi \ --enable-rewrite \ --with-zlib \ --with-pcre \ --with-apr=/usr/local/apr \ --with-apr-util=/usr/local/apr-util/ \ --enable-modules=most \ --enable-mpms-shared=all \ --with-mpm=prefork make && make install else ls ${install_dir} echo "httpd 編譯安裝完成"fi#設置環境變量,man文檔,頭文件echo "export PATH=${install_dir}/bin:\$PATH" > /etc/profile.d/apache.shln -s ${install_dir}/include /usr/include/apache &> /dev/nullgrep "apache" /etc/man_db.conf &> /dev/nullif [ $? -ne 0 ];then sed -i "22a MANDATORY_MANPATH ${install_dir}/man" /etc/man_db.conffi#將其加入systemd服務里面cat > /usr/lib/systemd/system/httpd.service <<EOF[Unit]Description=httpd server daemonAfter=network.target[Service]Type=forkingExecStart=${install_dir}/bin/apachectl startExecStop=${install_dir}/bin/apachectl stopExecReload=/bin/kill -HUP \$MAINPID[Install]WantedBy=multi-user.targetEOF#加載文件并設置開機自啟systemctl daemon-reloadsystemctl enable --now httpd#查看端口ss -antl[root@localhost httpd]# cat config.sh #!/bin/bash#定義變量install_dir=$(grep "^install_dir=" apache_lnh.sh | awk -F"=" "{print $2}" )echo $install_dir#添加包含虛擬主機grep "Include conf/extra/httpd-vhosts.conf" $install_dir/conf/httpd.conf &> /dev/nullif [ $? -eq 0 ];thenecho "Include conf/extra/httpd-vhosts.conf" >> $install_dir/conf/httpd.conffi#配置虛擬主機cat > $install_dir/conf/extra/httpd-vhosts.conf <<EOF<VirtualHost *:80> DocumentRoot "$install_dir/htdocs/zhuawawa.example.com" ServerName zhuawawa.example.com ErrorLog "logs/zhuawawa.example.com-error_log" CustomLog "logs/zhuawawa.example.com-access_log" common</VirtualHost>EOF#添加防火墻規則firewall-cmd --add-rich-rule "rule family=ipv4 source address=0.0.0.0/0 port port=80 protocol=tcp accept" --permanent &> /dev/nullfirewall-cmd --reload#創建網站存放目錄mkdir -p $install_dir/htdocs/zhuawawa.example.comcp -r files/zhuawawa/* $install_dir/htdocs/zhuawawa.example.com#重啟httpdsystemctl restart httpd#查看端口ss -antl[root@localhost httpd]# lsapache_lnh.sh config.sh files[root@localhost httpd]# ls files/apr-1.7.0.tar.gz apr-util-1.6.1.tar.gz httpd-2.4.53.tar.gz httpd-2.4.54.tar.gz zhuawawa(提前將源碼包解壓到這里)[root@localhost httpd]# ls files/zhuawawa/ (此處是我解壓的源碼包)Battle_City audio css images index.html js tk.zip進行訪問:
[root@localhost ~]# tar -Jcf httpd.tar.xz httpd/ //壓縮腳本存放目錄[root@localhost ~]# lsanaconda-ks.cfg httpd httpd.tar.xz
到此這篇關于源碼安裝apache腳本部署的文章就介紹到這了,更多相關源碼安裝apache內容請搜索以前的文章或繼續瀏覽下面的相關文章希望大家以后多多支持!
排行榜

 網公網安備
網公網安備