Idea 搭建Spring源碼環(huán)境的超詳細教程
本篇主要講解如何使用Ideal 搭建Spring的源碼環(huán)境,想必大家都會多多少少去看過Spring的部分源碼,一般我們都是直接點進某個Spring類 然后Idea上面去下載 ,但是確實比較麻煩,而且不能添加自己對源碼的注釋 理解 ,本篇就來解決這個問題,手把手使用Idea 搭建Spring framework ,并且直接在Spring framework項目中添加我們自己的module 來驗證環(huán)境是否正確。 本過程會比較耗時 而且容易出錯 慢慢來吧。
1. clone spring-framework 項目1.1 找到github spring-framwwork 項目先登錄github 找到 spring-framework項目
https://github.com/spring-projects
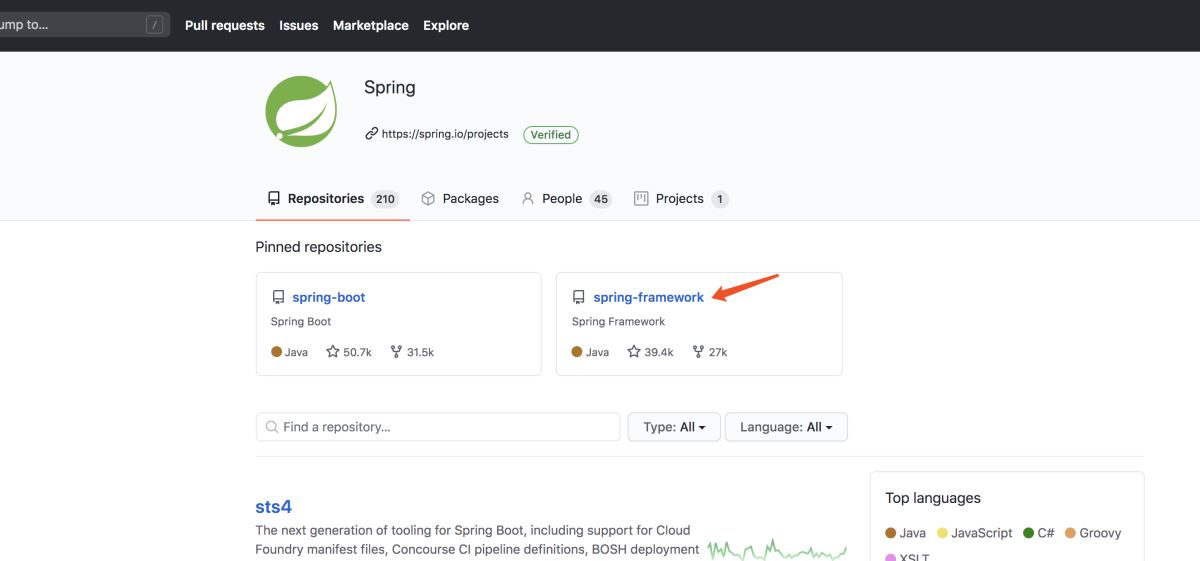
我選擇的是 5.0.x

如果你覺得你網(wǎng)速可以,那你可以直接從 github clone 下來, 我這里先把項目傳到 gitee
1.2 fork 到gitee 碼云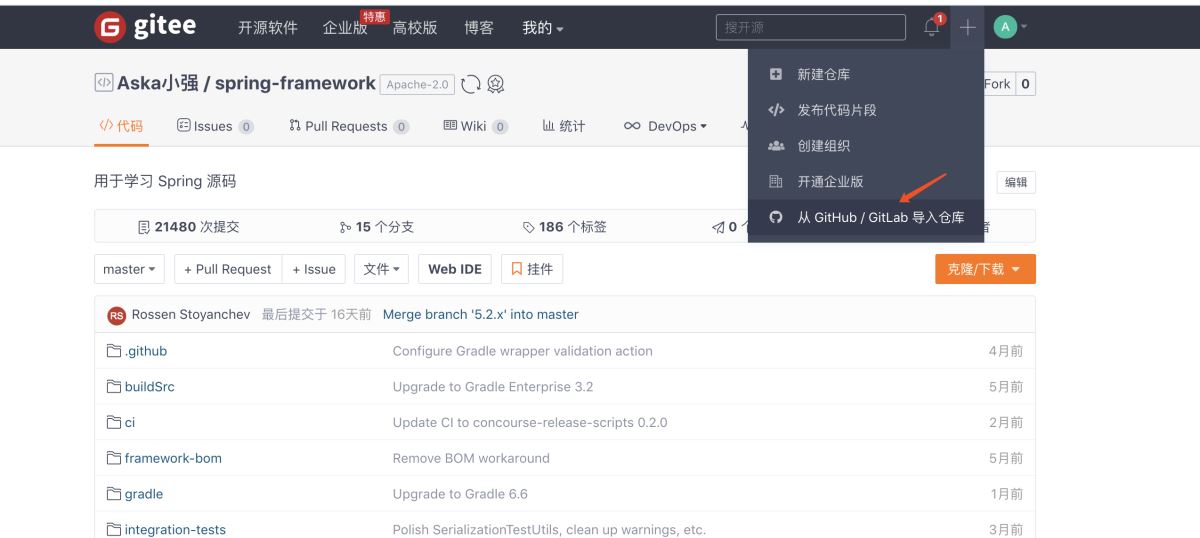
拉取你要的 分支 git clone -b 分支

在下載的源碼中 有一個文件是 import-into-idea 的 md文件 里面有關(guān)于導入 idea需要的 注意事項,我們來打開它
The following has been tested against IntelliJ IDEA 2016.2.2## Steps_Within your locally cloned spring-framework working directory:_1. Precompile `spring-oxm` with `./gradlew :spring-oxm:compileTestJava`2. Import into IntelliJ (File -> New -> Project from Existing Sources -> Navigate to directory -> Select build.gradle)3. When prompted exclude the `spring-aspects` module (or after the import via File-> Project Structure -> Modules)4. Code away## Known issues1. `spring-core` and `spring-oxm` should be pre-compiled due to repackaged dependencies.See `*RepackJar` tasks in the build and https://youtrack.jetbrains.com/issue/IDEA-160605).2. `spring-aspects` does not compile due to references to aspect types unknown toIntelliJ IDEA. See https://youtrack.jetbrains.com/issue/IDEA-64446 for details. In the meantime, the’spring-aspects’ can be excluded from the project to avoid compilation errors.3. While JUnit tests pass from the command line with Gradle, some may fail when run fromIntelliJ IDEA. Resolving this is a work in progress. If attempting to run all JUnit tests from withinIntelliJ IDEA, you will likely need to set the following VM options to avoid out of memory errors: -XX:MaxPermSize=2048m -Xmx2048m -XX:MaxHeapSize=2048m4. If you invoke 'Rebuild Project' in the IDE, you’ll have to generate some testresources of the `spring-oxm` module again (`./gradlew :spring-oxm:compileTestJava`) ## TipsIn any case, please do not check in your own generated .iml, .ipr, or .iws files.You’ll notice these files are already intentionally in .gitignore. The same policy goes for eclipse metadata.## FAQQ. What about IntelliJ IDEA’s own [Gradle support](https://confluence.jetbrains.net/display/IDEADEV/Gradle+integration)?A. Keep an eye on https://youtrack.jetbrains.com/issue/IDEA-53476
大致意思就是
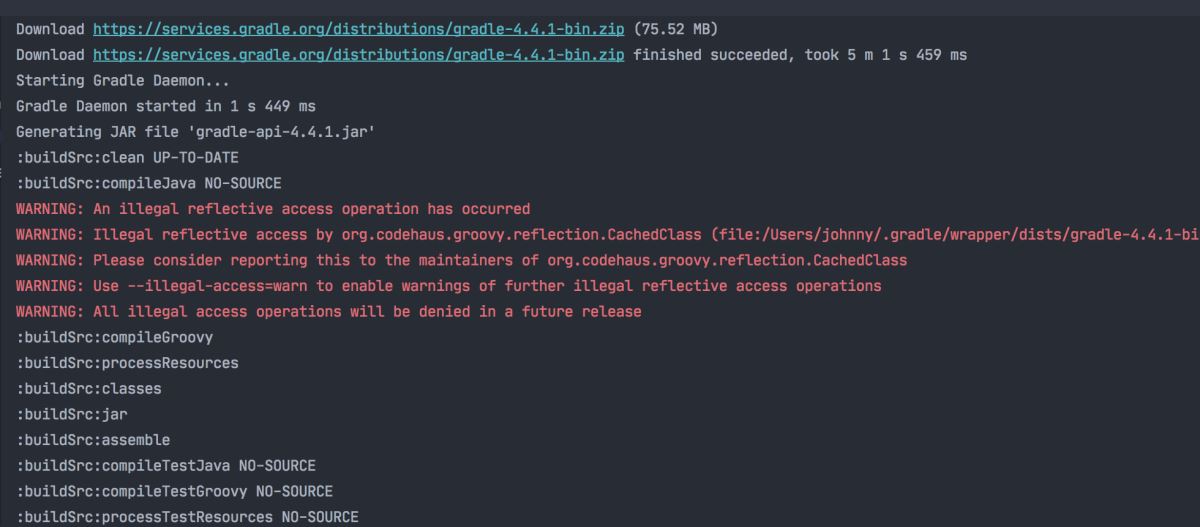
2.1 在源碼目錄下執(zhí)行./gradlew :spring-oxm:compileTestJava
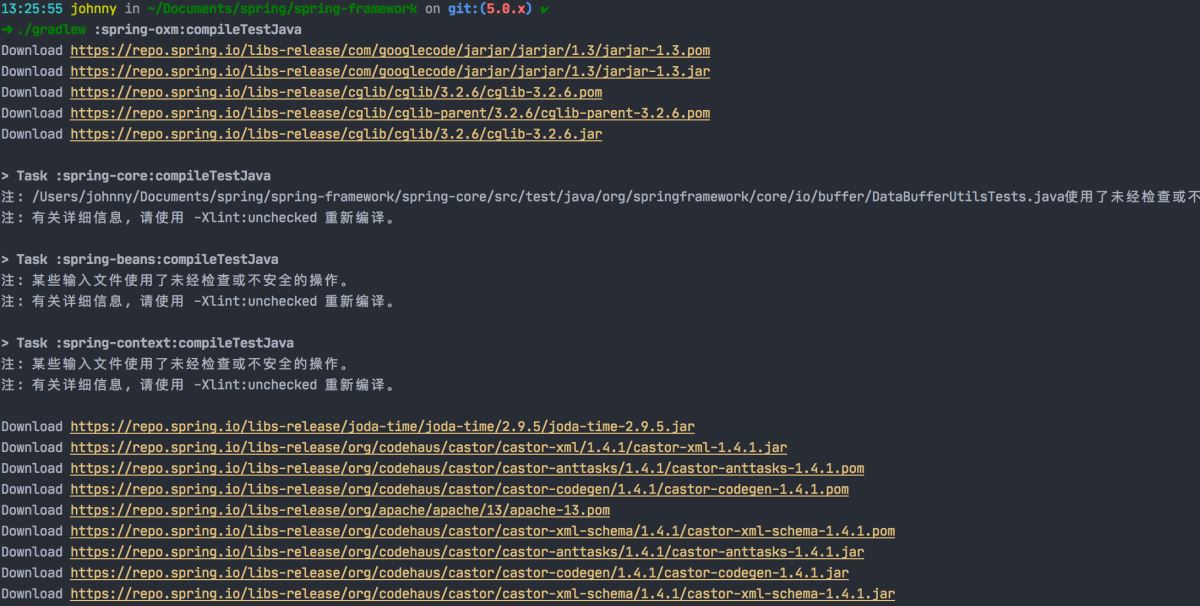

會開始下載 Gradle 構(gòu)建工具 等,會根據(jù) gradle-wrapper.properties 中的指定版本下載,最好不要修改它的版本

Idea導入 選擇文件夾

選擇使用Gradle

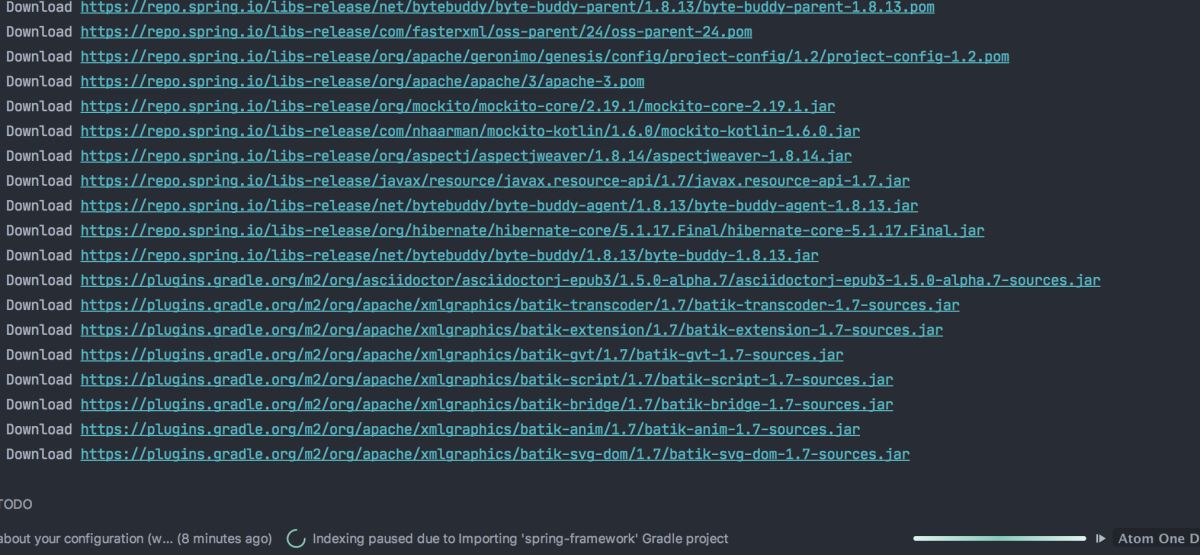
靜靜的等待
排除了 spring-aspects 項目
打開settings.gradle 把 //include 'spring-aspects' 注釋了

可以發(fā)現(xiàn) 依賴都加載完成后,idea 就能識別我們導入的 spring項目了,并且圖標都變亮了

下面就是來驗證 我們的 源碼環(huán)境是否 正常, 需要引入一個自定義的 模塊,并且依賴 core bean 等spring依賴
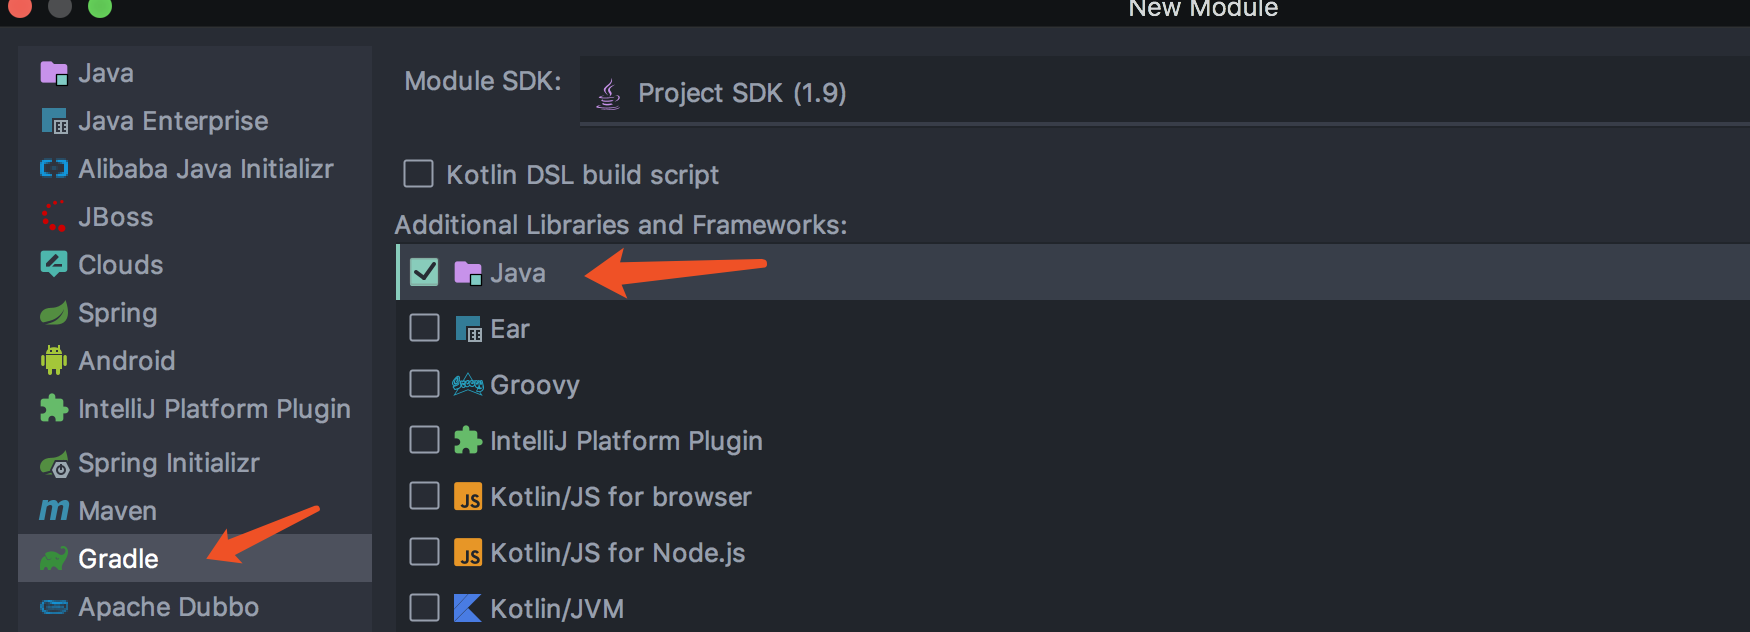
3.1 新建module右擊項目 -》 new -》 module 選擇 gradle 項目
在新建的module下 打開 build.gradle 引入下面的依賴 spring-beans , spring-context , spring-core , spring-expression
dependencies { testCompile group: ’junit’, name: ’junit’, version: ’4.12’ compile(project(':spring-beans')) compile(project(':spring-context')) compile(project(':spring-core')) compile(project(':spring-expression'))}3.3 檢查 module 是否被引入
打開settings.gradle 添加 include ’spring-demo’ ,默認使用我說的創(chuàng)建module 方式 會自動添加的最好檢查一下
3.4 編寫 測試代碼3.4.1 定義Person類
package com.johnny.bean;/** * @author johnny * @create 2020-09-07 下午11:22 **/public class Person { private String name; private int age; @Override public String toString() { return 'Person{' + 'name=’' + name + ’’’ + ', age=' + age + ’}’; } public String getName() { return name; } public void setName(String name) { this.name = name; } public int getAge() { return age; } public void setAge(int age) { this.age = age; }}
3.4.2 resources 下新建 demo.xml
<?xml version='1.0' encoding='UTF-8'?><beans xmlns='http://www.springframework.org/schema/beans' xmlns:xsi='http://www.w3.org/2001/XMLSchema-instance' xsi:schemaLocation='http://www.springframework.org/schema/beans http://www.springframework.org/schema/beans/spring-beans.xsd'> <bean id='person'> <property name='name' value='johnny'/> <property name='age' value='10'/> </bean></beans>
3.4.3 新建main 加載xml 并且從容器中獲取 bean
package com.johnny.bean;import org.springframework.context.support.ClassPathXmlApplicationContext;/** * @author johnny * @create 2020-09-07 下午11:24 **/public class DemoMain { public static void main(String[] args) { ClassPathXmlApplicationContext classPathXmlApplicationContext = new ClassPathXmlApplicationContext('demo.xml'); Person person = classPathXmlApplicationContext.getBean(Person.class); System.out.println(person); }}
可以看到 能獲取到 容器中的Bean ,表示我們的spring環(huán)境搭建正確

本篇主要講解 如何使用idea 搭建spring源碼環(huán)境,過程其實很耗時 而且特別容易出錯,總結(jié)就是 1. clone 代碼,2.進入源碼目錄執(zhí)行 ./gradlew :spring-oxm:compileTestJava3.導入idea 中 4. 排除 exclude the spring-aspects module 5.自定義module 驗證環(huán)境 , 祝愿大家環(huán)境搭建順利。。。最好開個墻
本文由博客一文多發(fā)平臺 OpenWrite 發(fā)布!
到此這篇關(guān)于Idea 搭建Spring源碼環(huán)境的文章就介紹到這了,更多相關(guān)Idea Spring源碼環(huán)境內(nèi)容請搜索好吧啦網(wǎng)以前的文章或繼續(xù)瀏覽下面的相關(guān)文章希望大家以后多多支持好吧啦網(wǎng)!
相關(guān)文章:
1. Django中的AutoField字段使用2. Django ORM實現(xiàn)按天獲取數(shù)據(jù)去重求和例子3. 解決docker與vmware的沖突問題4. IntelliJ Idea 2020.1 正式發(fā)布,官方支持中文(必看)5. IntelliJ IDEA設(shè)置自動提示功能快捷鍵的方法6. asp.net core應用docke部署到centos7的全過程7. Java 3D的動畫展示(Part1-使用JMF)8. Python基于jieba, wordcloud庫生成中文詞云9. 如何在vue3.0+中使用tinymce及實現(xiàn)多圖上傳文件上傳公式編輯功能10. 刪除docker里建立容器的操作方法

 網(wǎng)公網(wǎng)安備